
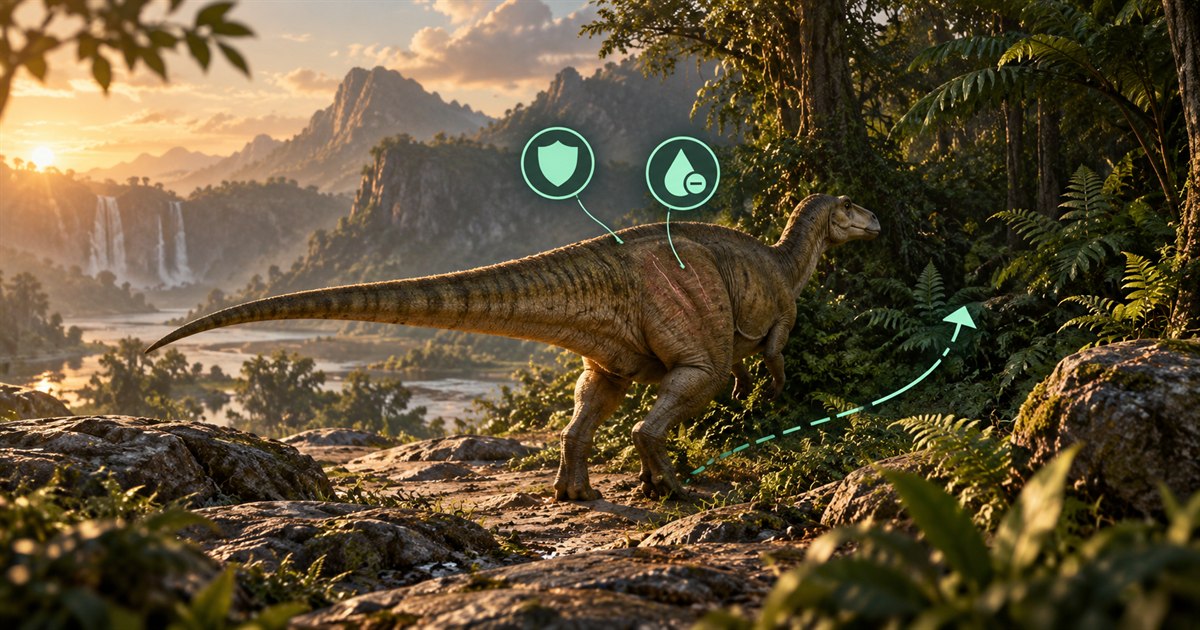
Trying to stop bleeding in The Isle EVRIMA, heal after a fight or recover from a broken leg? Escaping an attack is only the first decision. You still need to identify what is wrong, reduce avoidable movement and choose somewhere to recover without creating another emergency.
Disengage from immediate danger, check your Status Report and blood indicator, and avoid unnecessary sprinting. Rest using your bound Rest key, commonly H. If your dinosaur can wallow and a usable mud pit is within a sensible approach, follow its interaction prompt to manage bleeding. Then reassess your injuries and supplies: mud is not a full-health refill, and hiding does not guarantee safety.
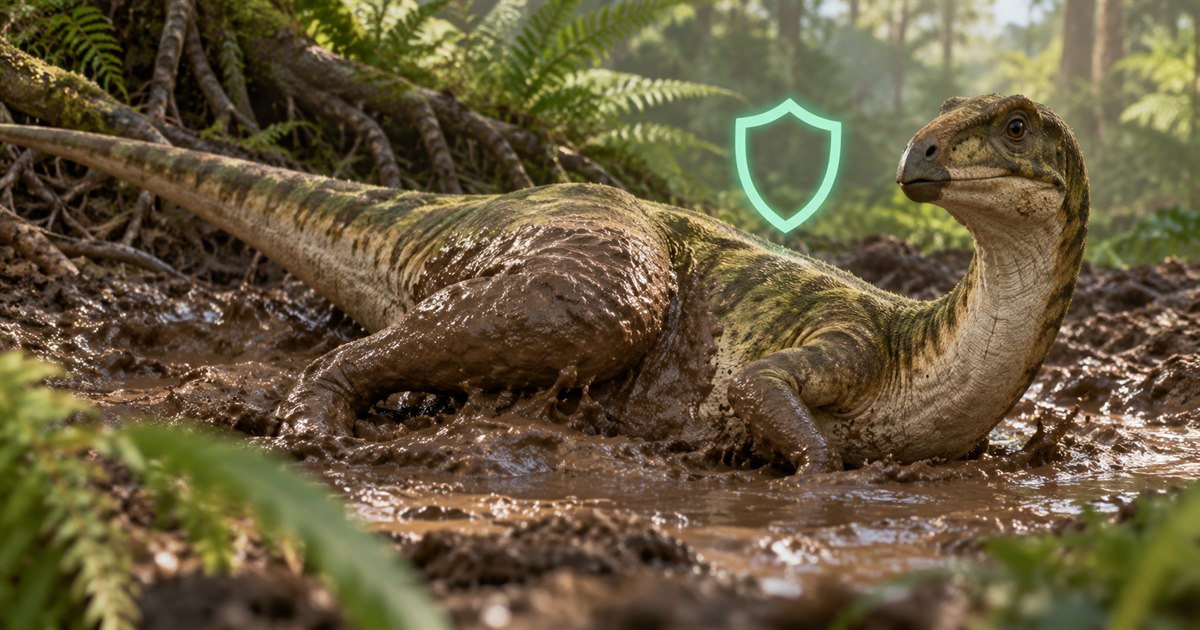
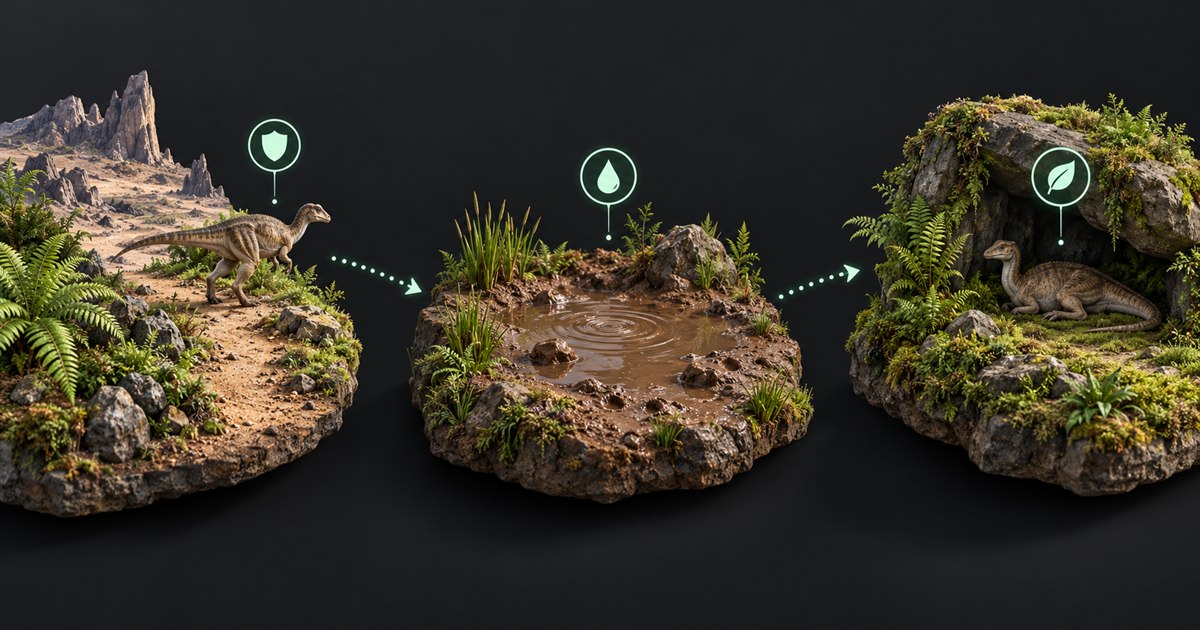
The four images are AI-generated illustrations. Mint symbols and routes are teaching concepts, not actual game icons, screenshots, medical diagrams or exact Gateway locations.
Bleeding, health damage and fractures are different problems
Do not treat every injury as one generic health bar. The fan-made Evrima Quick Guide injury reference distinguishes blood loss from ordinary health damage and describes fractures affecting movement, attacks or vision. A character can therefore have more than one recovery problem at the same time.
Open your character panel when doing so will not leave you exposed. Look at the named status effects and the blood indicator, not just the general colour of the heartbeat display. If the screen looks less alarming but a fracture remains, your dinosaur may still be limited. Keep checking the actual status instead of assuming that one improving symptom means the whole recovery is finished.
| Problem to check | Practical question | Common mistake |
|---|---|---|
| Bleeding or blood loss | Is blood still being lost, and can I reduce unnecessary movement? | Continuing the chase because ordinary health looks acceptable. |
| Health damage | Have I stopped taking damage, and is my condition improving? | Treating a muddy appearance as proof of full recovery. |
| Fracture | Which status is shown, and what can my dinosaur currently do? | Planning an escape around movement or attacks that are impaired. |
| Low supplies | Do I need food or water before starting another long wait? | Resting indefinitely without checking hunger or thirst. |
This guide covers EVRIMA, not Legacy. Community references can be outdated, and public builds, Hordetest and server settings may differ. Treat the current game's status messages and interaction prompts as the immediate reference. This article does not assign exact remaining-health percentages to screen colours or promise a universal recovery timer.
How to stop bleeding in The Isle EVRIMA
The community injury reference warns that movement can increase blood loss and describes resting as part of recovery. The practical response is to stop spending movement on things that no longer help you survive. That does not mean sitting down beside the dinosaur attacking you: first create enough separation to attempt recovery, then reduce avoidable travel.
- End the unnecessary fight. Chasing one more bite can turn a survivable injury into another hit.
- Choose the shortest workable escape. Prefer terrain you understand over a blind sprint toward an unfamiliar distant destination.
- Check the injury. Look for the blood indicator and named status effects when you have a moment.
- Use an available recovery option. Rest or consider a nearby usable wallow, depending on your dinosaur and situation.
- Reassess before moving again. Check whether bleeding, another injury or an approaching threat now determines the next decision.
A useful example is escaping into a familiar treeline. Once you have broken immediate contact, continuing all the way across the island simply because it feels safer may be a poor trade. Conversely, remaining still in a spot where an attacker is visibly approaching is not a recovery plan. The goal is less unnecessary movement, not a rule that you must never move.
Do not confuse a recovery symbol with immunity to another attack. The community-written Steam survival guide describes a blood-drop indicator, a healing state and the risk of further damage restarting bleeding. Observe your own game's response rather than assuming the first improvement lasts.
Mud pits and wallowing: what they help with
The community wallowing reference describes mud as a way to lessen or end bleed effects and interfere with scent tracking. It also lists restrictions on movement and abilities inside a mud pit. Wallowing is a wound-management option, not permission to ignore the situation around you.
At a usable wallow, follow the current interaction prompt. E is the commonly documented interaction key, but check your bindings rather than repeatedly pressing a key that may have been reassigned. Availability depends on your playable: do not assume every dinosaur can perform the same action.
Wallowing does not mean your lost health and blood are instantly restored. Check the Status Report afterwards and decide whether you still need to rest. A mud coating is not proof that a fracture has healed, and scent interference does not make your dinosaur invisible.
Before entering, look at how you will leave. A pit that restricts movement is not an ideal place to discover another dinosaur waiting nearby. Do not commit to a long, exposed mud-pit journey solely because an old tutorial calls wallowing the best answer in every situation.
How to heal fractures and a broken leg in The Isle
For a fracture, check which part is affected before planning your next move. The community injury reference describes resting and diet as relevant to leg-fracture recovery. Avoid repeatedly testing damaged movement on difficult terrain; choose a manageable approach to cover and rest rather than continuing an ambitious exploration trip.
The game's official historical patch notes explicitly changed leg-fracture recovery while standing and body-fracture stamina costs. This is evidence that those mechanics have been adjusted, not a current healing formula. Resting and simply standing still should not be treated as interchangeable.
There is no universal number of minutes promised here. Injury severity, current mechanics and applicable modifiers can make a fixed timer from another build misleading. Check whether the named effect remains and whether your movement has recovered before returning to the terrain or encounter that caused the injury.
After a fall, reconsider the route itself. Taking the same steep shortcut with an impaired dinosaur can turn one bad landing into a second. If the way out is uncertain, compare your position with landmarks, choose less demanding terrain and make the journey in manageable steps.
Resting, food and water during recovery
Check the binding for Rest; H is commonly documented. Do not assume that holding a key for a safe-log action is the same as choosing to rest briefly and stay aware of the game. Start with the action you actually intend, then watch whether your status improves.
Our practical recommendation is to plan around the next immediate need. If food and water are comfortable, avoid inventing a long resource trip during recovery. If supplies are already urgent, assess a nearby suitable option before committing to a lengthy wait. Neither travelling constantly nor ignoring the character panel is a reliable default.
Check your current diet information rather than assuming that any full stomach gives the same benefits. See our food and diet guide for feeding priorities and the stamina guide for travel decisions. Mutation descriptions can also matter, but do not assume you possess a recovery benefit simply because another player's video shows it.
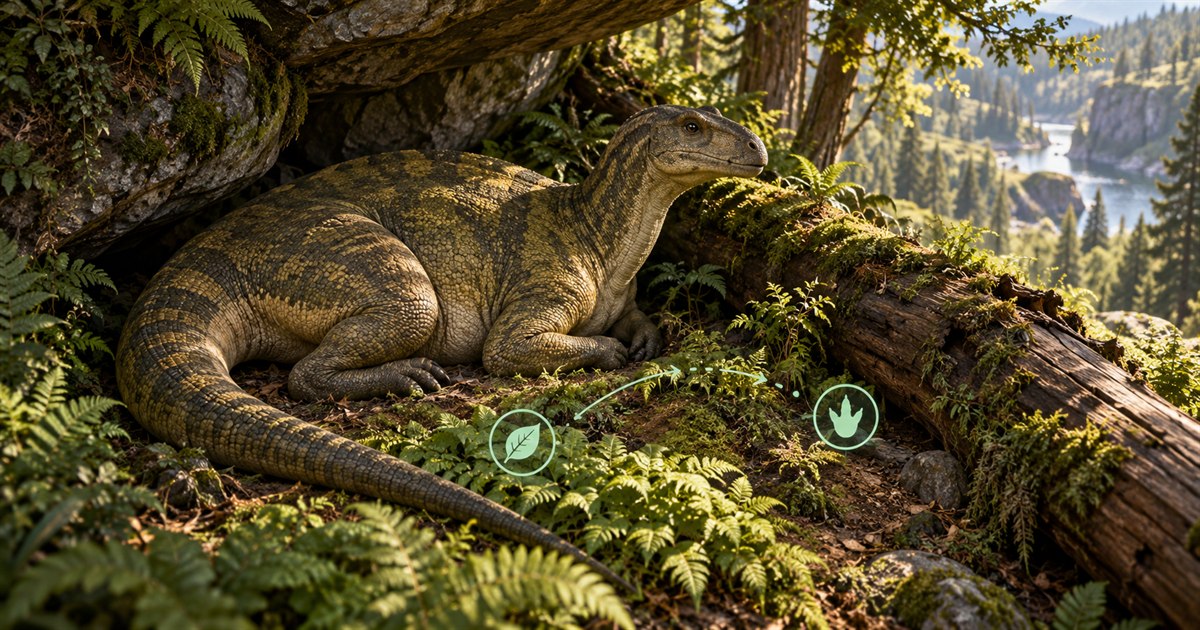
Common mistakes after escaping a fight
- Continuing the chase. Surviving the first exchange does not mean another attack is worth the risk.
- Travelling to a distant ideal spot. A closer workable option may involve less exposure than the location you originally wanted.
- Confusing mud with complete healing. Check each injury rather than using appearance as the whole diagnosis.
- Using an old exact timer. A patch or different condition can change the outcome.
- Ignoring new activity. A good resting place can become a bad one if another dinosaur approaches.
- Planning beyond your current abilities. Reassess a climb, crossing or escape route when injured.
Being followed is another reason not to treat cover as a permanent solution. The Steam survival guide notes that blood and footprints can be tracked. Stay aware of approaching activity, but avoid repeatedly relocating without a reason. Our scent and tracking guide explains why traces of earlier movement are different from a live position marker.
Using TheIsleMinimap to plan recovery on Gateway
Turn on the app's Mud areas filter in Map Layers Settings to see mapped mud-pool footprints. Compare those reference areas with your own position, nearby terrain and what you can actually see in the game. A mapped footprint is not a live confirmation that a wallow is usable, empty or safe for your dinosaur.
Update your position by copying the in-game Asset Location, or use the enabled screen reader with your confirmed reading area while the coordinates are visible. The coordinates guide explains the setup. Refresh the marker before making a route decision rather than assuming an older shared position is still current.
With friends, private squads for up to four players help coordinate shared positions and meeting points. Agree where to meet without sending an injured member on an unnecessary long trip. App squads do not override server rules or The Isle's in-game group restrictions.
Bleeding and healing: quick answers
How do I stop bleeding in The Isle EVRIMA?
Escape immediate danger, reduce unnecessary sprinting, check the blood indicator and rest. Consider a reachable usable mud pit if your dinosaur can wallow, then reassess rather than assuming mud has restored everything.
Can I bleed out even when ordinary health looks good?
Yes. The community injury reference describes blood loss as a separate survival problem. Check the blood indicator instead of using ordinary health alone to decide whether to continue a fight.
Does wallowing heal a broken leg?
Do not treat wallowing as fracture recovery. Check the named injury and use the appropriate resting and recovery options for your current playable and build.
How long does a fracture take to heal?
There is no fixed timer guaranteed by this guide. Use the current status effect and your dinosaur's recovered abilities rather than a number from a different patch.
Can the minimap find a safe mud pit for me?
It shows mapped mud areas as reference information, not live occupancy or safety. Compare the map with the surroundings and decide whether approaching is sensible.