
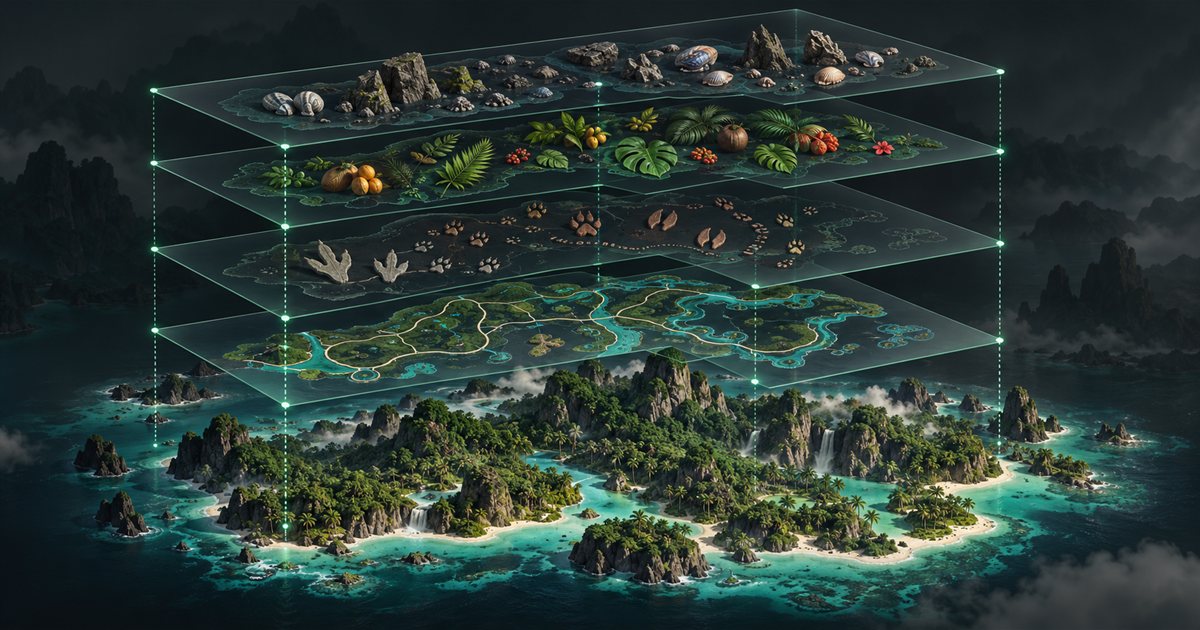
A map becomes easier to use when it answers the question you have right now. TheIsleMinimap separates reference information into General, Animals, Plants and Earthworks, with individual filters inside each group. Start with the few layers relevant to your task, then add detail when you need it instead of leaving every marker visible.
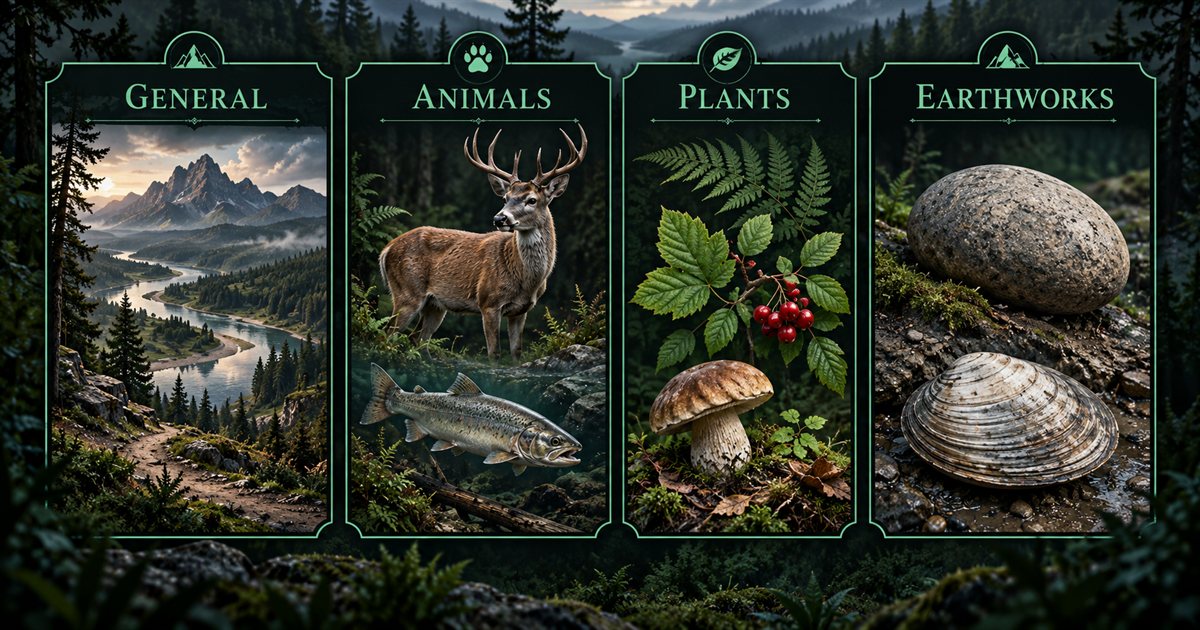
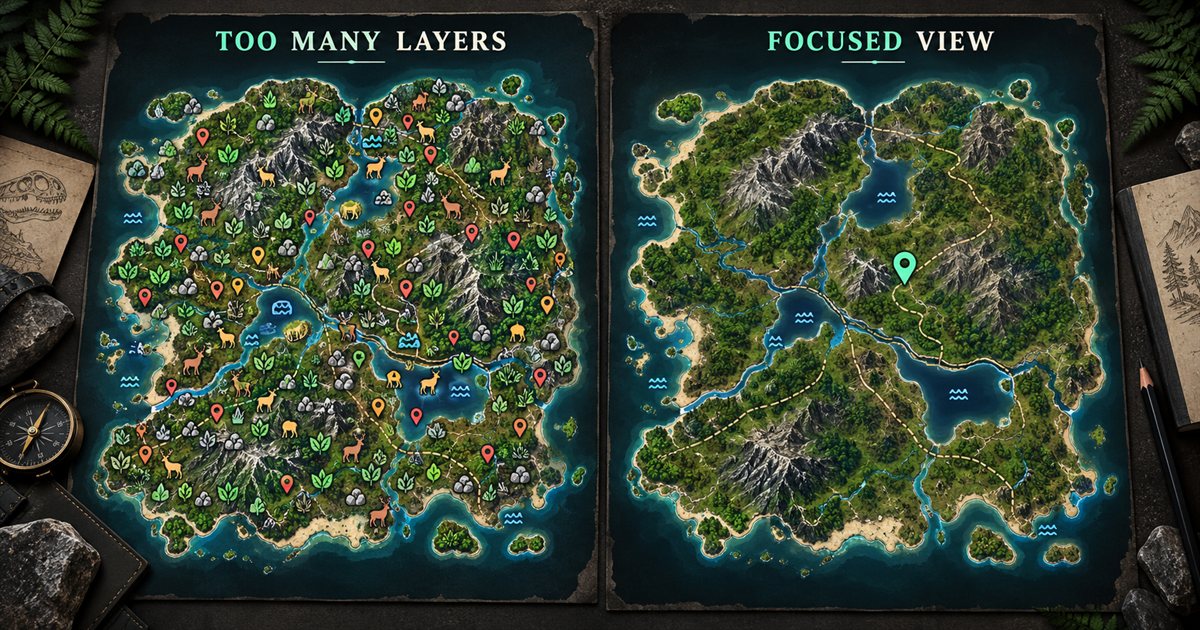
This guide describes TheIsleMinimap 1.7.1. Its three AI-generated illustrations show layer organisation and decluttering concepts; they are not actual app screenshots, current Gateway terrain or resource coordinates. The complete map-layer catalogue provides a browsable companion to this walkthrough.
Find the layer controls
Open settings and choose Map Layers Settings. Its four tabs are General, Animals, Plants and Earthworks. Selecting a tab changes which controls you are looking at; it does not automatically disable the other groups. Several groups can be visible together on the map.
Each group has a main switch and individual filters. The main switch controls whether that group's selected information is drawn. When it is off, the group's filter controls remain visible but dimmed and disabled. Turn the group on before editing its filters.
Enable All and Disable All apply to the individual filters in the current group. Use them as a quick starting point when you want everything selected or want to build a sparse selection from nothing. They are different from temporarily hiding a group with its main switch, which retains the individual preferences.
For a first experiment, enable General, disable its individual filters, then select Location names and Drinking water. Return to the map and compare that view with the more crowded selection you started with. Once the distinction is clear, repeat the process in another tab.
Choose General references for orientation
General contains 11 filters. They cover named places, reference features, mapped regions and practical navigation details. You do not need to show every type to understand where you are.
| Filter | Reference it adds | Useful question |
|---|---|---|
| Location names | Named Gateway areas. | Which area am I looking at? |
| Landmarks | Mapped reference landmarks. | What recognisable feature can help me orient? |
| Drinking water | Mapped water references. | Which water locations should I inspect? |
| Sanctuaries | Mapped sanctuary boundaries. | Where is the reference area on the map? |
| Migration zones | Mapped migration and mass-migration areas. | Where are the mapped regions relative to me? |
| Patrol zones | Mapped patrol regions. | Which reference region am I comparing? |
| Air currents & updrafts | Mapped paths and updraft areas. | Where are the available flight references? |
| Roads & trails | Roads and smaller trails. | Which mapped connections help me understand the terrain? |
| Mud areas | Mapped mud-pool footprints. | Where can I look for a relevant mud area? |
| Salt licks | Mapped salt-lick points. | Where is a salt-lick reference relative to my route? |
| Caves & entrances | Mapped cave locations and entry points. | Where is the entrance reference I want to inspect? |
The coordinate grid is an independent map option, rather than another General filter. Showing or hiding it does not change which reference layers you selected. Your local marker, movement trail and private squad information also have their own controls and purpose.
Use names and landmarks for broad orientation, then add the feature you are actually seeking. If several zone outlines make a small area difficult to interpret, hide the irrelevant zones temporarily and zoom in. A clearer map is often more helpful than trying to decode overlapping details at a distant zoom level.
Understand Animals, Plants and Earthworks
Animals provides land and aquatic species filters. Land choices include Boar, Chicken, Deer, Goat, Rabbit, Psittacosaurus, Gallimimus and Deinosuchus. Aquatic choices include Fish, Crab, Frog and Turtle. Selecting a species displays its mapped reference markers; it does not track a live animal or another player's dinosaur.
Plants groups its filters into fruits, nuts, vegetables, flowers, other plants and mushrooms. You can select individual resources such as Banana, Coconut, Cashew, Potato, Fireweed, Agave or Chanterelle instead of displaying the whole plant collection. Use the food and diet information relevant to your current dinosaur to decide which references you need.
Earthworks has Gastrolith and Clam Rock filters. This is a separate resource group, so changing a plant filter does not automatically select or hide Earthworks markers. Inspect the appropriate tab rather than assuming all collectible references belong under Plants.
The food and diet guide gives broader gameplay context. This layers walkthrough explains the companion controls; enabling a resource filter does not read your diet, determine your current nutritional needs or change what the game allows your dinosaur to eat.
Build useful filter combinations
Think of each combination as a temporary answer to a task. These are editorial suggestions to assemble manually, not saved app presets or automatic species profiles. You can keep other references selected but hide their groups while concentrating on one question.
For learning an unfamiliar route
Start with Location names, Landmarks and Roads & trails. Add Drinking water if you want to compare water references along the way. Leave animal and plant groups hidden until they are relevant. First understand the terrain and your position, then add the details needed for the journey.
Map lines and points do not calculate a safe walking route. Inspect the actual terrain as you travel, including slopes, banks and obstacles. A destination that looks close on the map can still require a careful approach in the game.
For looking for a particular resource
Keep a small amount of General context visible and enable only the relevant plant, animal or Earthworks filters. If you want one mushroom reference, selecting every fruit and flower can make that search harder. Narrow the selection before deciding that the marker you need is missing.
When the task changes, revisit the group rather than simply adding more filters indefinitely. Disable All can be useful for rebuilding an individual selection, while the main switch is better for temporarily hiding a selection you want to keep.
For comparing zones or special references
Enable the zone types or General features you want to compare, then turn off unrelated resource groups. For a broader explanation of those regions, use the migration, patrol and sanctuary guide. The map displays reference regions; it does not determine a server's current active state for you.
Read markers as reference information
Mapped locations are not live server or entity tracking. An animal marker does not guarantee an animal is present, a plant marker does not confirm a resource is currently available, and a drinking-water reference does not establish that its surroundings are safe. Observe the game before committing to an approach.
Keep coordinate freshness in mind as well. A perfectly configured set of layers can look confusing if your local marker still represents an older reading. Check Current Position and obtain another screen-reader or clipboard update before concluding that the reference data is misplaced.
Troubleshoot missing or crowded markers
- The filters are dimmed: enable that group's main switch before editing the selection.
- A selected resource is missing: check both the group switch and the individual filter, then inspect the relevant map area and zoom.
- Everything looks crowded: hide unrelated groups and narrow individual selections instead of enabling more layers.
- A layer returned after a sidebar click: an individual General-layer shortcut can enable its parent group so the chosen layer becomes visible.
- Your position looks wrong relative to references: verify a fresh coordinate update and reset the map view before changing layer settings.
The Quick Access guide covers group and individual-layer shortcuts. If a marker problem persists after these checks, open an Account Portal support ticket with your app version, group, exact filter name and a redacted screenshot of the map view. Avoid deleting configuration folders as a troubleshooting shortcut.
Keep your map focused
Choose a task, enable the relevant group, select the references that answer it and compare them with a fresh position. Keep the rest of the map readable by hiding unrelated detail. If the overlay itself is hard to read, use the overlay setup guide to adjust size and opacity separately from your layer selection.