

Learning how to play Ceratosaurus in The Isle EVRIMA? Start with the decisions around food, not just the first attack. A carcass can feed you, attract competition and give you a reason to stay somewhere longer than you should. Learning when to approach, when to bite and when to leave makes this carnivore much easier to understand.
This Ceratosaurus guide covers default-reference controls, charged bites, bacteria, diet and practical Gateway travel. It is about EVRIMA, not Legacy. Your current game controls, Status Report and server rules take precedence over an older tutorial. The four AI-generated illustrations are conceptual teaching images, not official screenshots, exact attack animations or a live view of Gateway.
Ceratosaurus controls: learn the bite before the fight
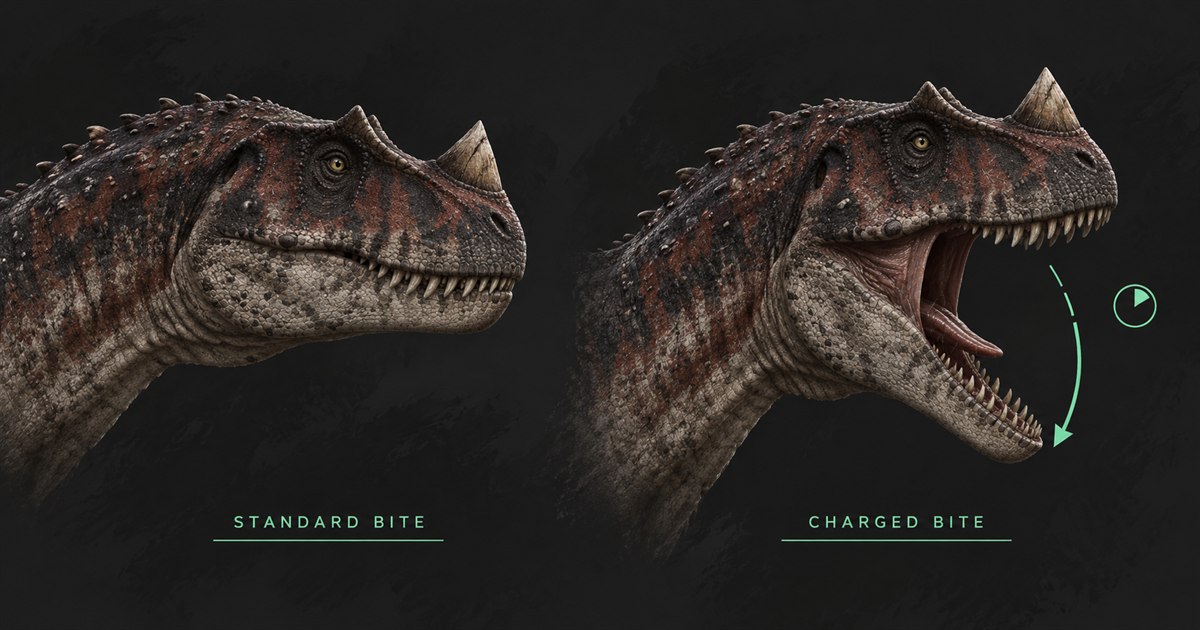
The official charged-bite introduction describes a charged attack that increases damage and bacterial application. Later patch 0.20.109 notes specifically discuss RMB hold time and the stamina cost of continuing the mouth display after a full charge. Holding an attack indefinitely is not a free preparation state.
- LMB: the commonly documented standard bite
- Hold RMB: prepare the charged bite; practise its release and recovery using your current bindings
- Alt + LMB: the community-documented directional bite; test its direction in a clear area before relying on it
- Hold Q: use scent to help locate relevant resources
- E: the usual feeding and drinking interaction; follow the visible prompt
- Shift: the usual sprint input; keep an eye on stamina rather than holding it throughout a trip
The bite references above are also listed in the fan-made Evrima Quick Guide Ceratosaurus page, which warns that information is being updated. Check the game if a binding or animation differs. Do not change a personalised key setup just to match this list.
For a first practice session, choose open ground with no nearby fight. Compare an ordinary bite with a briefly prepared charged bite, then watch how the character moves and recovers. Test turning separately. That small exercise is more useful than discovering an unfamiliar recovery animation while another player is already attacking.
Ceratosaurus diet: scavenging is not the same as a perfect nutrient balance
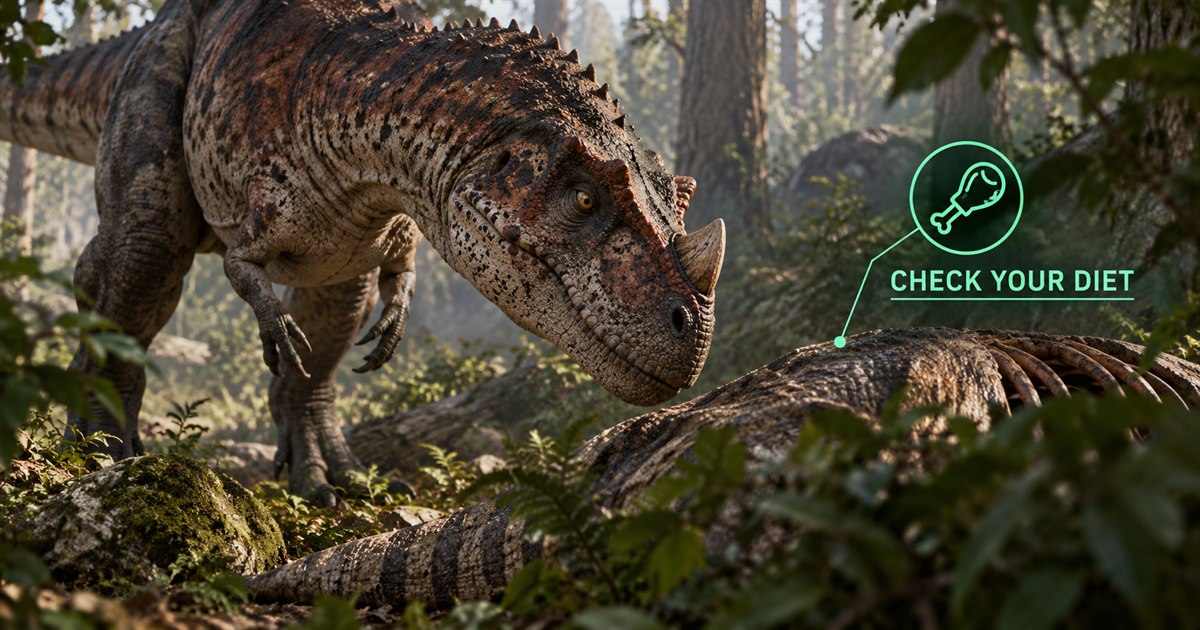
Ceratosaurus has a scavenging identity, but finding something edible is only the start of the decision. Open the current Status Report and read the preferred foods and nutrient bars. A full stomach, the nutrients you need and the preparation for a bacterial bite are separate things to check.
The community species reference describes feeding on rotten bodies and bones as well as fresh food. That does not mean every item provides the same benefit in every build. Check the feeding interaction and your bars after eating; do not copy a fixed prey list or nutrient combination from a video without comparing it with the game.
When you discover a carcass, look around before committing to the feeding animation. Note the nearest cover, the open approach and the route you would use to leave. A body is not automatically abandoned because you cannot see the owner. Avoid lowering your head immediately just because hunger makes the find feel urgent.
Here is a practical example: you need food, but the carcass is exposed beside a busy water source. You can see another animal repeatedly moving between it and the bank. Instead of treating that as a challenge to win, compare the remaining hunger with a smaller nearby food option. A less impressive meal may solve the problem without creating a second one.
Our food and diet guide explains nutrient planning in more detail. For map references, read the AI spawns guide: a marked area is not a guarantee that an animal or carcass is currently there. Check what is actually available before extending the trip.
Bacteria, manual vomiting and the chuffing buff
Bacterial pressure is part of the species' identity, not a guaranteed number of bites to win. The official September 2024 development notes describe bacterial application taking relative animal size and available bacteria into account. Later balance adjustments make a universal one-bite rule particularly misleading.
Watch the game's bacteria indicator instead of assuming that every meal fully prepares it. The June 2025 notes also record bacteria draining over time and at salt licks. That is why a successful bite earlier in the session does not prove that the next target will react the same way. This guide does not prescribe a current bacteria formula or a guaranteed vomiting threshold.
Manual vomiting is a separate utility, not the same thing as making an opponent vomit with a bite. Official development notes introduced its role in changing corpse decomposition. Community control references commonly describe three quick RMB taps near a body. Treat that as a build-sensitive reference: check the live input and do not repeatedly trigger it without understanding the resource cost and your server's body rules.
Chuffing also needs context. The official 2024 chuffing discussion describes changes intended to separate the defensive benefit from the vocalisation. Silence is not a reliable test of whether a corpse benefit exists. Equally, hearing a chuff is not proof that every attack can be survived.
Use the sound as a reason to reassess what is happening around the food, not as an instruction to stand still and trade damage. Corpse state, growth, resources and nearby animals still matter. No body buff makes a carcass automatically worth defending.
Charged bites, stamina and choosing a hunt
A stronger attack is only useful if it reaches the intended target and leaves you with a workable next move. Before charging, consider the distance, the target's direction and where the bite will finish. An opponent already stepping away is different from one committed to an approach.
Practise making a short decision: ordinary bite, charged attempt or no attack. Do not let the existence of RMB turn every encounter into the same sequence. If the target moves out of reach while you prepare, reassess rather than spending more stamina following an opportunity that has disappeared.
After a missed bite, look at the surroundings before attacking again. You may have turned away from your exit, moved into rough terrain or exposed yourself to another animal. A pause to reset position is not wasted time if the alternative is repeating an attack from a worse angle.
During travel, preserve enough stamina to change direction or break off. Our stamina guide covers the broader recovery decisions. Do not use another player's species ranking as a substitute for assessing their actual size, companions and position. There is no guaranteed matchup table here.
If friends are nearby, agree who is moving where. Crowding the same approach can obstruct a clean bite or make a retreat confusing. Check the community server's grouping and combat rules before coordinating; surviving a fight is not the only requirement for a valid play.
How to survive as a juvenile Ceratosaurus
Your early objective is a repeatable food-and-water routine, not control of the busiest feeding spot. Start by checking the character panel, your surroundings and one nearby landmark you can recognise on the return. Choose a short trip you can revise rather than setting off toward a famous location simply because players talk about it.
Our editorial recommendation is to use cover for observation, not as a promise of invisibility. Stop before entering a clearing, inspect the approach and keep a second direction available. Do not continue across open ground solely because the map distance looks small; terrain and activity are visible in the game, not fully described by a straight line.
Once you have fed, recheck hydration before starting another search. A food success can hide the fact that you now need a water trip. Avoid turning a manageable need into an emergency by insisting on finishing every original plan. The next sensible destination may be closer and less exciting.
For growth, consult your current character information and server settings. We avoid a universal Ceratosaurus growth timer because the measured life stage, diet and server multipliers matter. The EVRIMA growth guide explains the planning priorities without promising an instant route to adulthood.
Planning Ceratosaurus food and water routes on Gateway
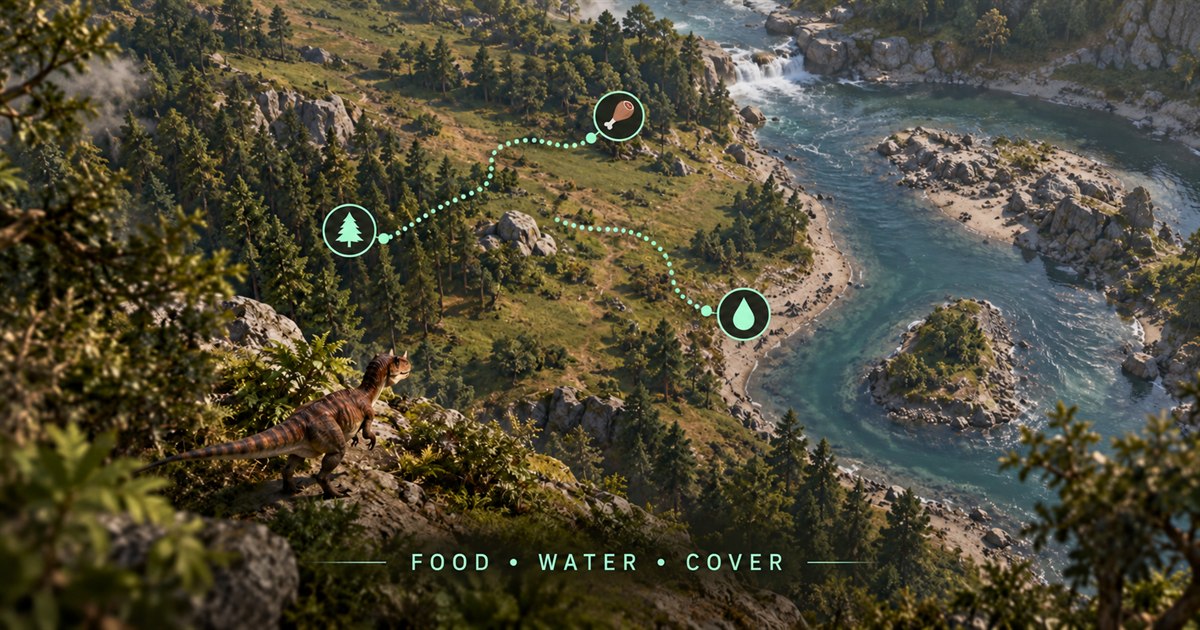
Build a route around the resource you need now, with a sensible stop afterward. For example, if you are fed but getting thirsty, identify a nearby drinking-water reference and compare the actual approaches you can see. Do not add a distant hunting detour merely because it lies in roughly the same direction.
A second example is leaving contested food. Refresh your position, identify cover away from the confrontation and move toward a recognisable landmark. Once you have space to reassess, decide whether to rest, find water or search elsewhere. This is a navigation habit, not an automatically calculated safe route.
Approach rivers with particular care. Another predator can be out of sight even when the surface looks quiet. The Gateway water guide explains why no marked water source is guaranteed safe, and the Deinosuchus guide provides context for the aquatic species rather than a live warning about one nearby.
Using TheIsleMinimap as a Ceratosaurus navigation companion
Use Map Layers Settings to show relevant location names, drinking-water references and selected animal filters. Compare them with your marker and what you can see in The Isle. Resource markers are references, not live prey tracking or a list of unclaimed carcasses.
Update your position by copying Asset Location in the game, or use the enabled screen reader with your confirmed reading area while Lat and Long are visible. See the coordinates and location guide for setup. An old marker should not decide an important turn after you have already moved.
Private app squads support up to four players and help friends share their positions. They are separate from The Isle's in-game group limits and your server's rules. A shared app squad does not authorise a larger in-game pack.
Ceratosaurus questions: controls, diet and growth
How do you charge the Ceratosaurus bite?
Hold the charged-attack binding, commonly RMB. Practise the release and recovery in clear space. Official notes describe continued stamina use after a full charge, so keeping the mouth display active indefinitely is not free.
Can Ceratosaurus eat rotten meat?
Scavenging rotten food is part of its documented role. Check the live feeding prompt, preferred foods and bars rather than assuming every corpse state gives the same nutrients or bacteria.
Why does the same bite not always make a target vomit?
Bacterial application has been adjusted with size and available bacteria in mind. Current balance, your preparation and the target matter. Do not assume that one successful result establishes a universal bite count.
Does chuffing mean I cannot lose the fight?
No. A corpse-related benefit does not remove the need to watch stamina, growth, terrain and other animals. Decide whether the meal is worth the encounter rather than fighting solely because you heard a sound.
Is Ceratosaurus the best dinosaur for a beginner?
It depends on what you want to learn. Its scavenging and bacterial mechanics add decisions beyond movement and basic feeding. Our beginner dinosaur guide compares alternatives; there is no single best choice for every player.