
“I'm near a bridge” is a difficult instruction to follow on Gateway. A named landmark, a fresh position and a clear description of which side you are on give your friends much more to work with. You do not need to memorize the whole island: start with a few recognizable places around your current route.
Update your position, find a nearby named landmark on the map, then compare it with the terrain you can see in the game. Pick your next checkpoint before setting off. For a meeting point, agree on the exact landmark and approach, rather than only the surrounding region.
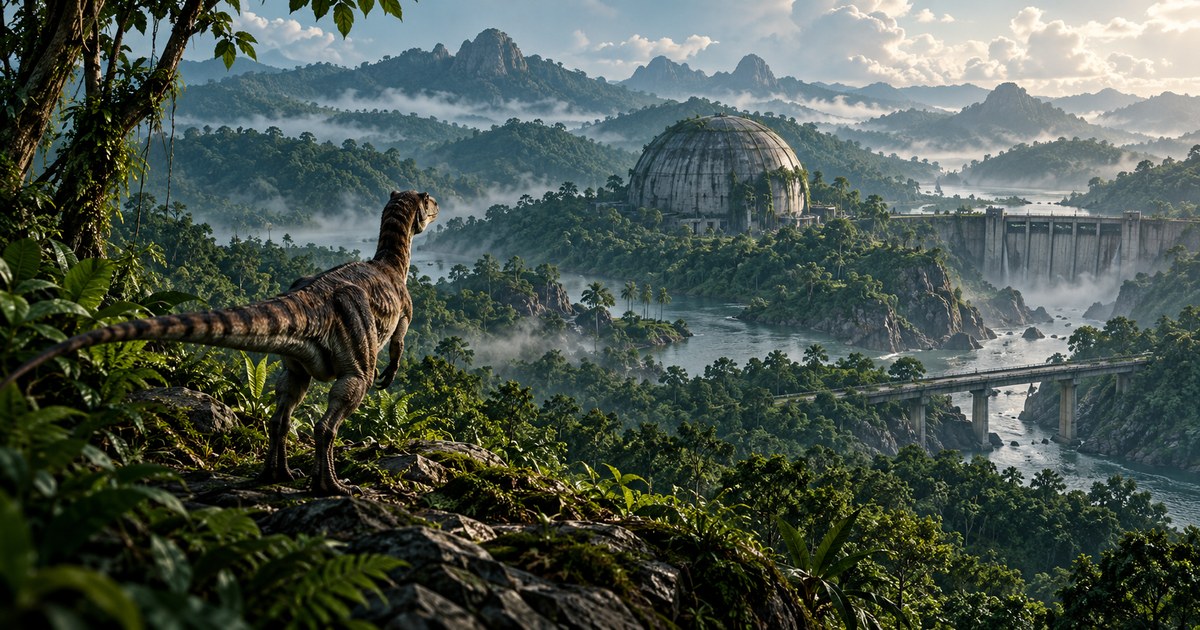
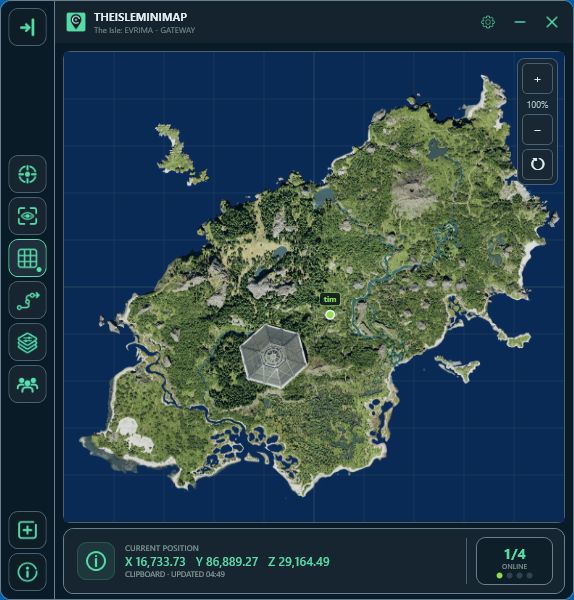
The cover is an AI-generated illustration of using landmarks. Its buildings and terrain are conceptual; it is not a Gateway screenshot or an accurate arrangement of those locations. The app image below is a real screenshot.
A region tells you the area; a landmark narrows it down
A broad name such as South Plains helps describe where a journey is happening. It is less useful for deciding which bank, junction or structure your friend means. A specific reference such as South Plains Bridge is a better starting point for that conversation.
Even an exact name needs context. “At Highland Bridge, waiting on the side you are approaching” is easier to act on than “at bridge.” Refresh both players' positions before choosing the approach. If the marker is from an earlier stop, a correct landmark name can still send someone in the wrong direction.
The Gateway beginner map guide covers getting oriented across the island. This guide concentrates on using individual references once you know your general area.
Gateway landmark names worth recognizing
These names appear in TheIsleMinimap's current Gateway landmark layer. Learn the ones near where you are playing first, then expand your reference points as your routes change.
| Reference | How to use the name |
|---|---|
| Central Dome | Use the specific dome reference rather than describing an entire central region. |
| Dam | Distinguish the landmark from the nearby water and agree which approach you mean. |
| Estuary Weir | Use the mapped name to avoid confusing it with another water structure. |
| Highland Bridge | Name the bridge and specify the side or nearby approach. |
| Log Bridge and Twin Bridges | Check the label instead of assuming that everyone means the same crossing. |
| South Plains Bridge | Give a precise checkpoint within the broader South Plains area. |
| Pipes | Use the landmark label together with your latest position. |
| Radio Tower and Pit Antenna | Keep these separate names in your instructions; “the tower” is ambiguous. |
| Extinct Volcano | Use it as an orientation reference, then choose a more precise destination for the next leg. |
Named facilities add more specific references, including Site F19 - Port and Site L11 - Dome Entrance. The Vulnona Gateway map also lists named landmarks and sites; some labels use alternative wording, such as Central Dome (Hexagon). Agree on the label you are both looking at.
A map label identifies a reference point. It does not tell you that the area is empty, that a particular crossing suits your dinosaur, or that a direct route to the marker is practical.
Show landmarks without filling the map with everything else
- Open Settings > Map Layers > General.
- Enable General layers, then switch on Landmarks.
- Add Location names if you also want the broader area names.
- Use Roads & trails or Drinking water when they help with the next part of your journey.
- Return to the map, update your position and zoom to a scale where you can compare your marker with the reference.
You can keep other filters off while learning a route. The map layers directory explains the available groups, and the Quick Access guide shows how to keep frequently used switches beside the map.
Choose the next recognizable place, not an island-wide straight line
Start with one nearby reference. Compare the visible terrain with the map and decide how you will recognize reaching it. Once there, update your position again and choose the next leg. This makes a wrong turn easier to notice before it becomes a long detour.
A bridge can be a checkpoint even when you decide not to cross it. A tower can help describe your direction even when you are not travelling to its base. Separate the feature you use to orient yourself from the place you actually intend to stand.
Look at the ground ahead rather than treating the shortest line on the map as a route. Read the terrain guide for slopes and approaches, or the river-crossing guide before committing to a bank or crossing.
Give friends a meeting point they can understand
Use three pieces of information: the named reference, the side or nearby feature, and whether you will wait there. For example: “Meet at Highland Bridge. I will wait on my current side; check my updated marker before approaching.”
If you use a private squad, place the shared destination pin at the agreed point and refresh your positions. The pin marks a destination; it does not automatically move everyone there or check the route. If you are arranging access for a group, the four-license bundle guide explains the separate license and squad steps.
When the landmark and your view do not seem to match
First check that your position is fresh. Open Asset Location and use your configured reading mode, or click the coordinates for a clipboard update. When the panel is closed, the marker keeps the last supplied position.
Then check the label and zoom. You may be comparing a broad region name with a specific structure, or looking at a different bridge. Use a second nearby reference to narrow the possibilities. If your position itself looks wrong, follow the coordinates guide before extending the journey.
Gateway landmarks: quick answers
Do landmarks show where other players are?
No. They are mapped location references. Private squad markers only show positions supplied by participating members.
Can I save a place without joining a squad?
Solo Lifetime has up to three personal map pins. The Solo pins guide explains how to place, recolor and remove them.
Does a landmark marker guarantee a usable entrance?
No. Inspect the actual surroundings and approach. A reference point is not a pathfinding instruction.