In Gateway's Swamps, the patch of land you want can look close while a water channel separates you from it. Trees interrupt your view, several banks look similar, and “meet me in the swamp” leaves plenty of room for two players to wait in different places.
Update your position, identify your bank, then choose one reachable checkpoint. Check the water and your exit before entering a channel. Tell friends the landmark, approach and side of the water where you intend to meet.
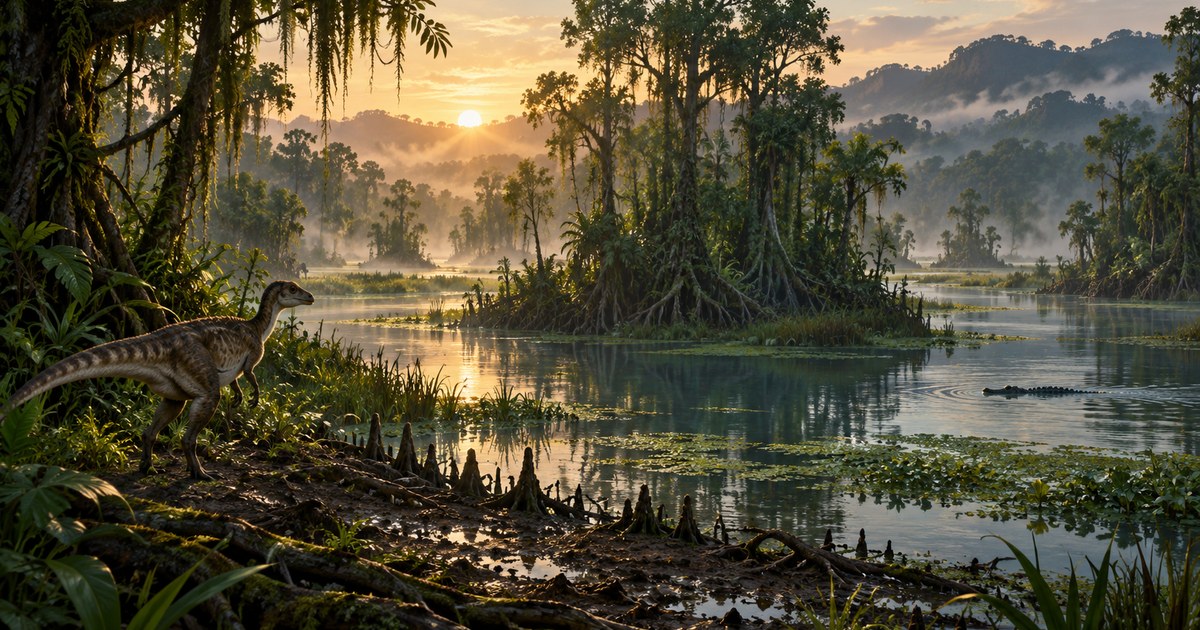
The cover is an AI-generated concept illustration, not a gameplay screenshot or a precise layout of Gateway's Swamps. Regional and tunnel names below follow the current references in TheIsleMinimap.
Swamps is a region, not one destination
Use Swamps in Location names to locate the broad area. Keep that separate from Swamp Tunnel, which is a particular reference in Landmarks. The Caves & entrances layer adds entrance and exit references, including Swamp Northwest Tunnel. A broad region label, a tunnel landmark and an entrance marker answer different questions.
| Reference | Useful for | Still check in the game |
|---|---|---|
| Swamps | Recognizing the general region | Your bank and the route through it |
| Swamp Tunnel landmark | Naming a particular structure | Which approach or opening you mean |
| Caves & entrances markers | Distinguishing mapped entrance/exit references | Access, obstacles and whether the passage suits your dinosaur |
| Lagoon or Shallows | Discussing other named areas during a wider journey | The actual land and water between your position and that area |
These names help explain where you are; they are not a recommended circuit. Pick a reference that fits your immediate need. Our caves and tunnels guide explains why a mapped tunnel should not be treated as a guaranteed shortcut.
Start with fewer map layers
- Open Settings > Map Layers > General and enable General layers.
- Turn on Location names and Landmarks to orient yourself.
- Add Drinking water when planning a drink, or Caves & entrances when checking a tunnel approach.
- Return to the map and refresh your position. Zoom out enough to see both your marker and the destination.
A dense collection of icons can hide the channel you are trying to understand. Turn off unrelated resources while choosing the route, then add them when they become useful. The map layers guide covers the individual controls.
Your marker is the latest position you supplied. Open Asset Location with your configured game key for a screen reading, or copy fresh coordinates using the clipboard method. Walking while that panel is closed does not produce continuous new coordinates for the app.
Plan the bank before the straight line
A short distance on an overhead map can involve swimming, turning around a channel or finding a usable slope. Before committing, look at the bank on your side and the exit on the other. Plan a first leg to a visible piece of ground instead of aiming directly at a distant marker through several waterways.
For a land dinosaur, it can be worth following a bank to inspect another approach. For a swimming dinosaur, the water itself may be part of the journey, but entry and exit still matter. Species, growth, stamina and the players around you change what is manageable. The swimming guide covers the controls and practical differences.
Decide on a crossing before stepping in
Stop somewhere you can observe the water without committing to it. Check the distance, the opposite bank and a way back. Save enough stamina for a correction if your first exit turns out to be awkward. Do not use another player's crossing as proof that the same route fits your dinosaur.
Quiet water does not prove that nothing is beneath it. Likewise, a drinking-water reference describes a mapped resource, not a protected drinking spot. Choose where to approach using what you can see and hear in the current session. Read the river crossing guide for a fuller decision checklist.
If you only need a drink, separate that task from crossing. You may be able to approach and leave on the same side rather than making an unnecessary swim. Decide where you will retreat before lowering your attention to the water.
Give friends a bank and an approach
Instead of “I'm in Swamps,” try “I'm on the landward approach to the Swamp Tunnel marker; stay on your current bank until we compare positions.” Then exchange fresh positions and check which opening or channel each player means. A structure name is useful only when everyone agrees on the side they are approaching.
With Squad access, use the shared destination pin to mark the agreed meeting point. Each friend still needs to update their own position. The pin does not make a route safe or join players to the same game server. Solo players can use an optional personal pin as a reminder of their own checkpoint; personal pins are not shared.
When several channels look the same
Pause on a manageable piece of ground and take a fresh position. Zoom out, locate one named reference and compare its direction with the land you can actually see. If you have a movement trail, use it as a record of supplied positions, not a complete trace of every step between readings.
Return to a known checkpoint if the next leg stops making sense. Avoid forcing a crossing just to keep moving toward the screen marker. Terrain and references can change with updates, so compare the current game with the app's supported map and official game update notes.
Quick answers
Does the swamp label show a safe place to drink?
No. It identifies an area. Check the actual water approach and surrounding players.
Why is a friend nearby on the map but hard to reach?
A channel, bank or tunnel approach may separate you. Compare a fresh position and the side of the obstacle each person occupies.
Should I keep every resource layer enabled here?
Use the layers needed for your current task. Fewer overlapping icons usually make a particular route easier to read.