
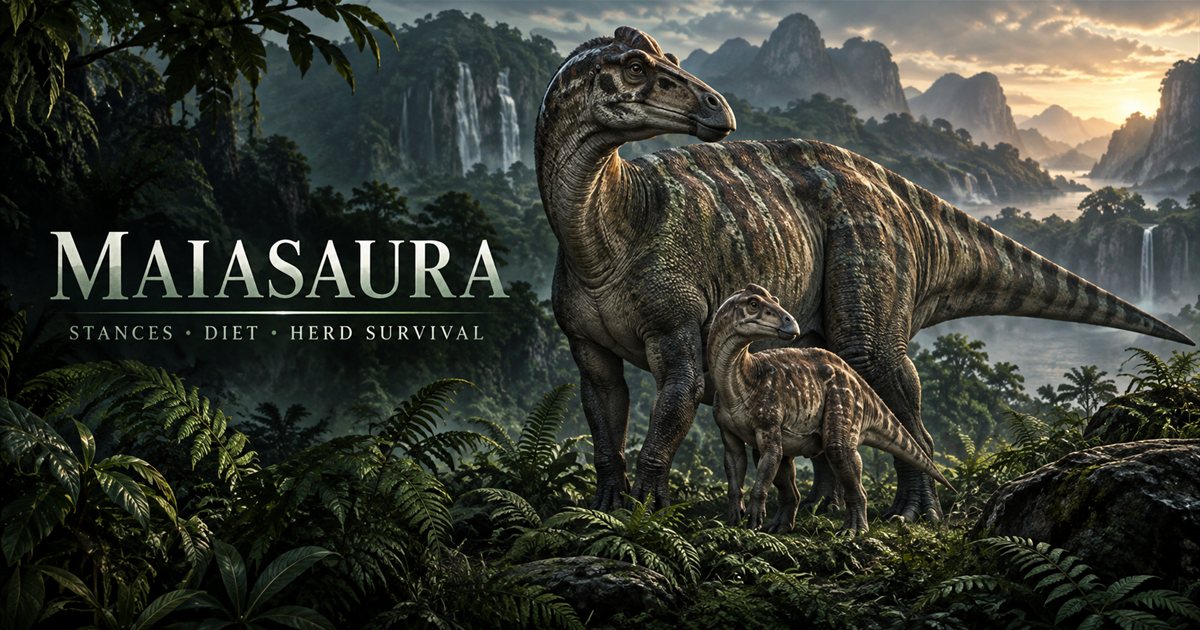
Learning Maiasaura means learning what changes when you change posture. Practise movement, turning and attacks separately in each stance before combining them during an encounter. Then build a travel routine around food, water and companions who can reach the same next stop.
This guide covers Maia practice, diet decisions, growth and herd coordination on Gateway. Its three AI-generated illustrations are conceptual examples, not screenshots, exact animations or verified routes. Current Controls, ability prompts and Status Report information take priority over older references.
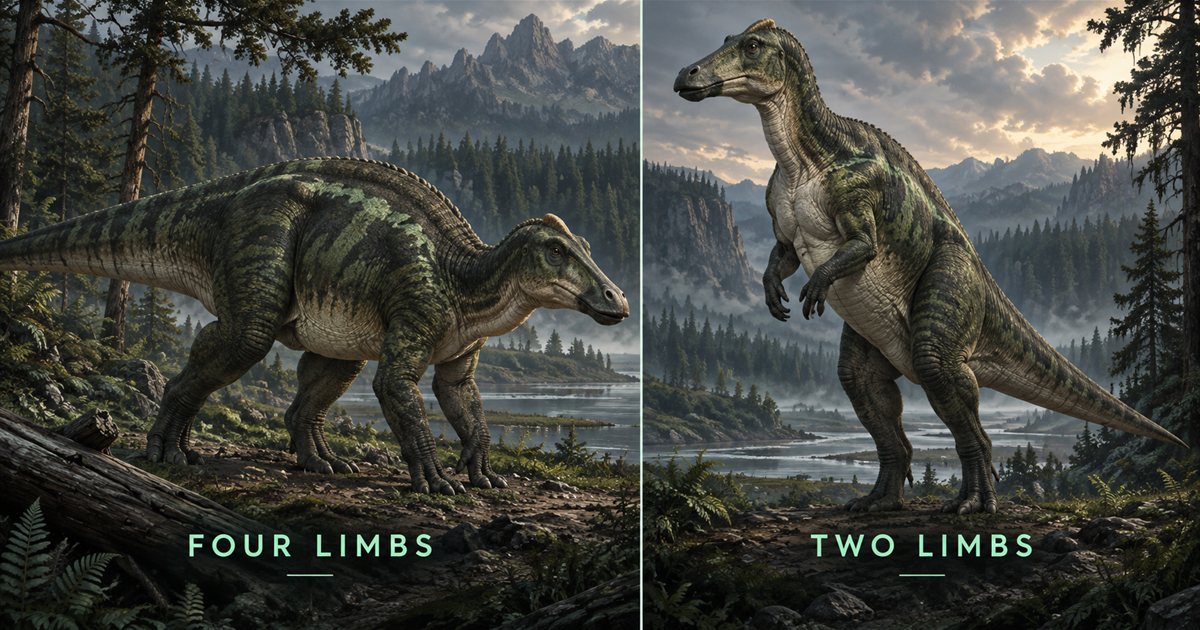
Maiasaura stances: learn both before choosing one for a situation
The fan-made Maiasaura reference describes bipedal and quadrupedal postures and carries an outdated-information notice. Treat it as a starting reference, then inspect how the stance change behaves in your installed build.
On clear ground, enter one posture and move a short distance. Stop, turn and return to the starting point. Repeat in the other posture. The comparison gives you a practical feel for movement without requiring a speed number or a matchup prediction.
Next, observe how long it takes you to recognise the new state and comfortably choose another action. If you cannot reliably explain which posture you are in, keep practising the toggle rather than adding a moving target. Familiarity with the transition is useful when the surroundings stop being calm.
Maiasaura control practice: stance, camera and movement
The community reference lists Ctrl or Spacebar for switching posture and describes LMB actions that depend on posture, movement and camera direction. Some attack labels on that page are explicitly uncertain. Rather than presenting those guesses as confirmed names, use the following practice sequence with your current bindings.
| Practice step | Reference input | Check in the game |
|---|---|---|
| Posture change | Ctrl / Spacebar, as listed by the community reference | Confirm your actual stance binding and resulting posture. |
| Attack while still | LMB | Observe the action and recovery in each stance. |
| Directional comparison | LMB with a different camera direction | Check which action follows that view in your current posture. |
| Movement comparison | Your bound attack while moving | Separate the moving action from the stationary one. |
Change only one part of the experiment at a time. If the stance, movement and camera all change together, a different attack becomes difficult to explain. Begin with a stationary action, then add direction or movement after you understand the first result.
The official 0.21.720 patch notes fixed Maiasaura stance toggling during certain abilities that increased attack rates. Avoid building a routine around an old animation-cancelling clip. Learn completed actions and recovery in the build you are playing now.
Defend or leave: decide what the next position is for
Before engaging, inspect the ground around you. Can you turn, reach a companion or leave toward a known area? If a bank or obstacle blocks the obvious next movement, improve your position while you can still choose how to do it.
A defensive action should answer a specific problem, such as an approach you can see. It does not obligate you to continue fighting after the opponent withdraws. Recheck your condition and resources, then decide whether the original objective is still the better use of the session.
Keep observing additional animals and your companions' positions. A herd can lose coordination if everyone chases the first visible target. Communicate who is moving and who is staying, and retain a place to regroup. This guide does not offer fixed damage, knockdown or winning-matchup guarantees.
Maiasaura diet: use the live panel to choose the trip
Check your preferred foods and nutrient bars before following a plant marker. Decide whether you need to answer hunger, an incomplete nutrient or thirst. These needs can lead to different next destinations, so do not assume one familiar food completes everything.
Choose a short first journey to an area you can inspect. Identify the approach, the place you will feed and a landmark for leaving. After eating, look at the result before choosing another resource. If a bar remains incomplete, change the objective deliberately rather than repeating the same trip without checking.
A marked plant is a map reference, not proof it is currently available or suitable for your installed build. If a location is empty or crowded, preserve your orientation and choose another option. Our food and diet guide explains how to separate hunger from nutrient planning.
Growing Maia: protect the progress you have
Learn the actions your current life stage can actually perform. An adult's demonstration may show movement or abilities that do not behave the same way for a young animal. Test current availability in a quiet area before relying on it beside a threat.
Use a familiar resource loop until you can explain its approach and return. Expanding the route gradually gives you landmarks and stopping points to fall back on. A distant herd is not always a better destination than nearby food and water you understand.
Check growth and resource information during sensible stopping moments. The minimap does not read those bars, and this guide gives no universal growth timer. For broader progression choices, read the growth guide and lifecycle guide.
Herd travel: plan around the player who needs the next stop
Ask companions to identify their immediate needs before departing. Choose one reachable destination and a landmark everyone can describe. If a younger member has to stop, revise the pace instead of continually asking that player to catch a moving group.
Leave space for turning and avoid crowding another animal's approach to food or water. Describe which side you intend to use. If one player is already drinking, another need not force their way onto the same small patch of bank.

During poor visibility, shorten the next segment and communicate when you stop. Our weather guide and sound guide cover those observations. Neither a quiet interval nor a companion's nearby marker proves the area is free of other animals.
Nesting preparation belongs in the resource plan
Before beginning family play, check current courtship and nesting requirements and the server's rules. Identify resource trips the adults can manage without leaving the plan unclear. A nest needs attention in the actual game; a map reference cannot monitor eggs or hatchling condition.
Explain how younger players will reach food and water and where companions will meet after a trip. Read our nesting guide for the general process. Do not transfer an old egg-count, incubation timer or group limit into the current session without checking it.
Using TheIsleMinimap during Maia herd sessions
Enable the map layers relevant to your next objective. Copy Asset Location or use approved local coordinate reading while Lat and Long are visible. Your marker reflects the latest accepted update; reading does not continue while the coordinate panel is hidden.
Solo Lifetime supplies local navigation. Squad plans add a private app group for up to four players, separate from the game's grouping rules. The app does not read posture, attacks, diet, growth or nesting state, and it does not detect hidden opponents.
Maiasaura questions
Should I stay in one posture for every encounter?
Learn both in your current build and choose from the ground, available actions and the next movement you need. This guide gives no universal stance prescription.
Are old attack-cancelling clips reliable instructions?
Not automatically. Official notes have changed stance interactions. Practise completed actions in your installed version.
Can an app squad replace in-game grouping?
No. It provides private position sharing for approved companions, while game grouping and server rules remain separate.