
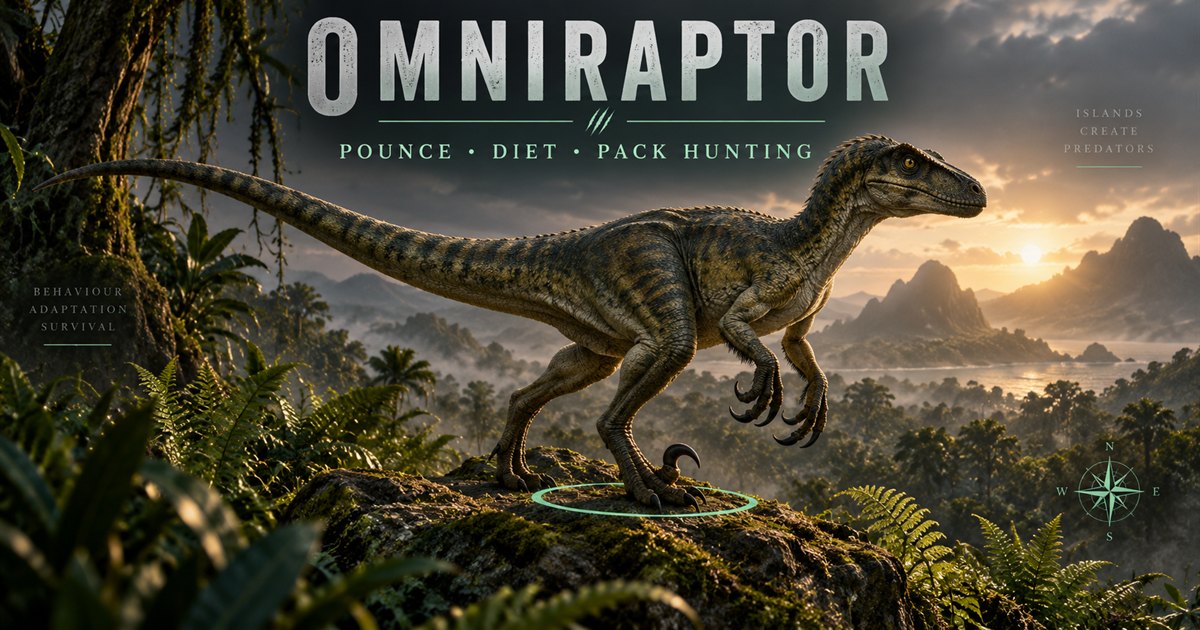
Playing Omniraptor in The Isle EVRIMA? A good pounce starts before you leave the ground: choose an approach, check your stamina and know where you want to land after disengaging. Learning when to stop attacking is as useful as learning how to latch onto a target.
This Omniraptor guide covers controls, pouncing, food, juvenile survival and pack hunting on Gateway. It is for EVRIMA, not Legacy. Your current Controls menu, Status Report and server rules take precedence over any guide. The four AI-generated illustrations are conceptual teaching scenes, not official screenshots, exact combat animations or accurate Gateway geography.
Omniraptor controls: pounce, attack and dismount
The official patch 0.16.189 announcement introduced manual actions while latched or pinning: Spacebar to dismount, Primary Attack for direct damage and Secondary Attack for bleed. It also introduced movement between pounce slots. This is the released foundation of the control system, not a claim that its original balance values remain unchanged.
The fan-made Evrima Quick Guide Omniraptor page lists these default inputs. It carries an updating notice, so compare them with your own bindings and the current game before relying on an older tutorial:
- LMB: normal bite
- RMB: pounce attempt; the resulting interaction depends on the target and situation
- Hold LMB while latched: direct-damage action
- Hold RMB while latched: bleed action
- A or D while latched: move between available pounce slots
- Spacebar while latched: dismount
Practise ordinary movement and jumping in clear space first. When learning combat, use a willing partner where the server permits it, not an unsuspecting teammate or a forbidden practice fight. Learn the exit input before extending a latch. Rebound keys can make the mouse-button examples in a video look correct while being wrong for your setup.
A pounce, a pin and a group grapple are related interactions, but they are not interchangeable promises. Do not assume every target can be pinned or that a second attacker automatically produces the same result seen in a clip. Growth, relative size, target state and balance changes matter.
How to pounce in The Isle without losing your escape route
Before committing, look past the target. A tree, steep bank or tight rock gap may leave you nowhere useful to dismount. A more open approach gives you choices after contact. It does not remove the target's ability to defend itself or another player's ability to join the encounter.
Choose the angle deliberately rather than aiming only at the nearest part of the body. Watch the target's movement, where its attacks are directed and what lies beside it. If it turns into a narrow obstacle-filled area, reassess instead of following the original plan simply because you have already started moving.
Once attached, pay attention to stamina and the situation around you. Direct damage and bleed are different choices, not a universal sequence that wins every fight. A target heading toward cover, water or companions can make an early dismount more useful than another attack.
Leave deliberately while you still have resources to move away. Do not make an empty stamina bar your signal to start looking for an exit. After landing, look at your orientation and the other animal's direction before deciding whether to re-engage. Immediately jumping back into the same encounter can turn one recoverable mistake into a repeated one.
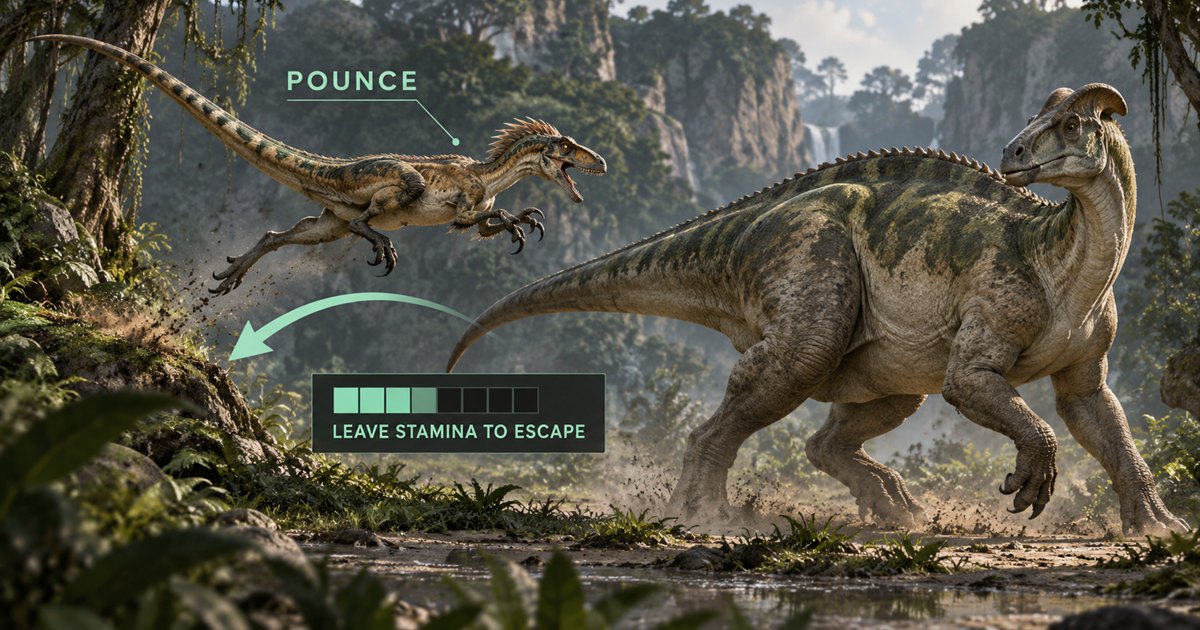
Omniraptor stamina: leave enough for the landing
Treat travel, combat and escape as separate demands on the same reserve. Sprinting across Gateway to reach a fight can leave you less able to respond when you arrive. If the pack is already engaged, first check your own condition rather than assuming you must attack immediately.
Choose recovery stops before the need becomes urgent. Look for room to observe and a departure direction, not just the closest bush. Cover can interrupt a sightline, but it does not make you invisible or prevent another animal from following.
Keep the lesson simple: watch the bar before a pounce, during the latch and after dismounting. There is no fixed percentage in this guide that guarantees a particular number of attacks or seconds of escape. Read the EVRIMA stamina guide for a broader travel-and-recovery routine.
Omniraptor pack hunting: coordinate without crowding
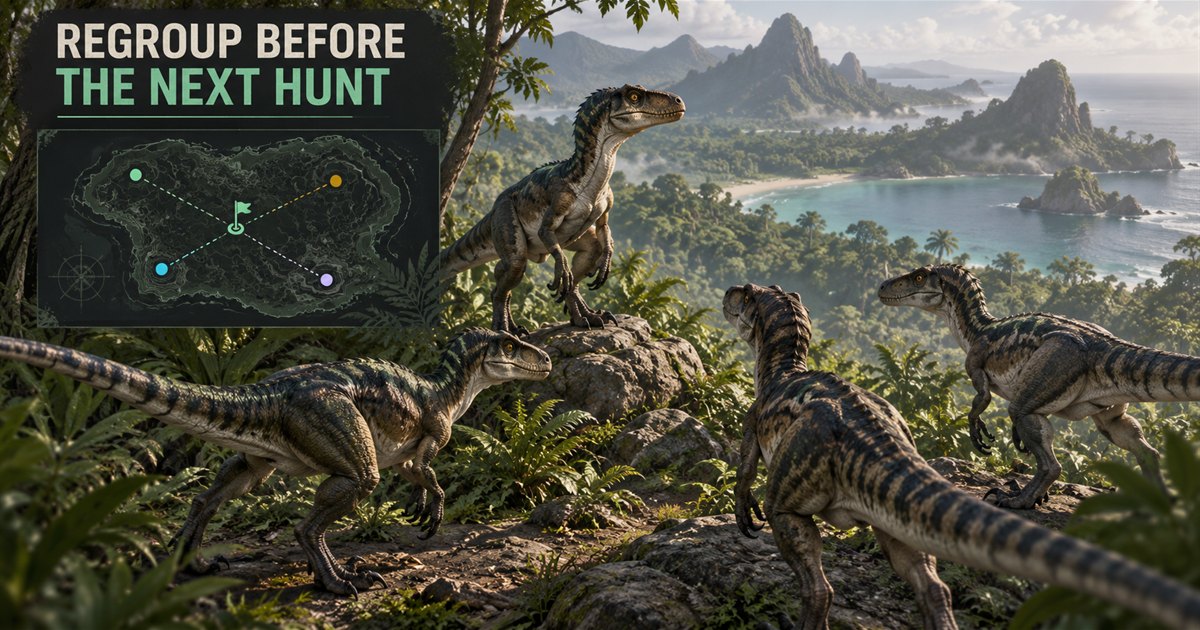
Agree on a regroup point before approaching a possible hunt. A landmark or shared destination is easier to follow than several players shouting different directions after the first attack. Also agree on a short call for leaving: everyone should know whether it means disengage now or simply stop approaching.
Discuss who is approaching and who is observing. If everyone commits at once, nobody may notice another animal entering the area or a pack member falling behind. Taking turns can leave someone available to recover and watch, but it is a practical coordination choice, not a guaranteed combat bonus.
After an attack, regroup before turning separate chases into separate fights. Check who is present and what each player needs. One member may need water while another needs recovery. A successful food find does not solve every player's resources equally.
Follow the server's grouping and combat rules. The app's four-player squad limit is not The Isle's in-game pack limit. It does not change group permissions, allow mixing forbidden species or authorise an oversized pack.
Omniraptor diet: check preferred foods before hunting
Open the live Status Report and check which preferred foods and nutrients your current animal needs. An edible meal and the nutrient balance you want are not always the same thing. Recheck the panel after feeding instead of assuming that a full stomach completed the diet.
Use fixed species food lists as references to compare with the game, not as instructions to cross the island for something that may have changed. This guide intentionally avoids an unverified preferred-food table or exact growth timer. Your current panel is the better starting point for a resource decision.
Observe a carcass or prey encounter before approaching. Nearby movement, calls and exposed approaches can matter as much as the meal itself. A large food find is not automatically a better choice if it forces a juvenile into a contest it cannot comfortably leave.
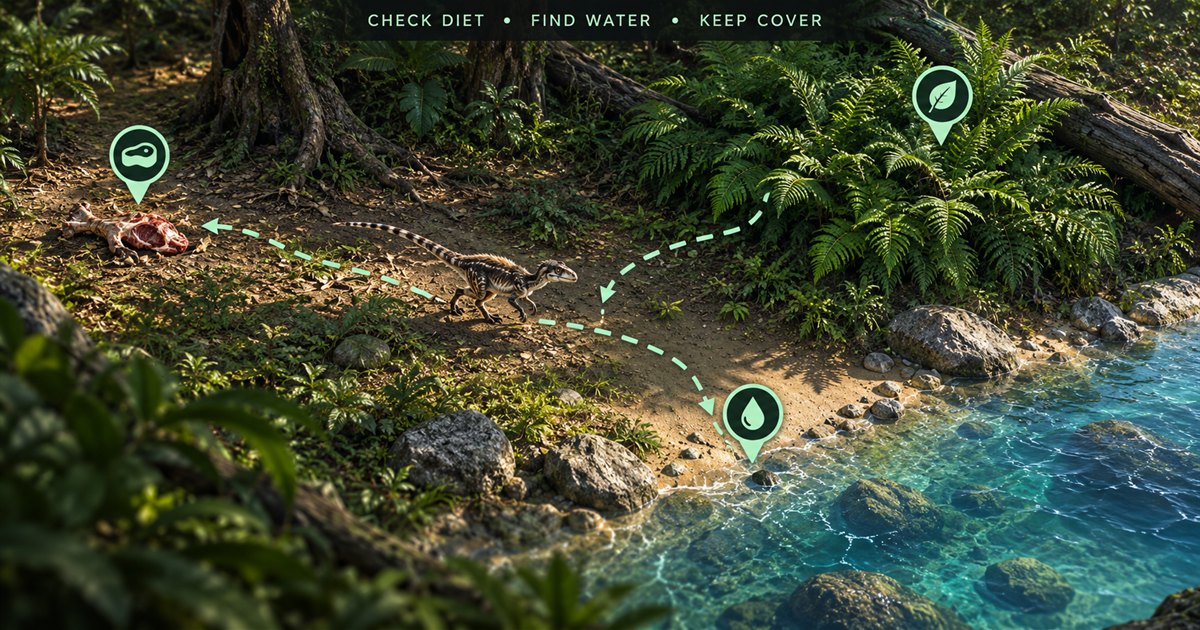
For a workable local loop, identify your position, choose a realistic food search, and know a water reference you can reach afterward. Our food and diet guide explains the broader nutrient system. The AI spawns guide explains why mapped animal locations do not guarantee live prey.
Growing a juvenile Omniraptor on Gateway
Start with a repeatable routine rather than a spectacular first hunt. Learn nearby landmarks and keep the first resource trip short enough that an unsuccessful search does not become a desperate journey. Refresh your position before choosing a turn through unfamiliar terrain.
Do not assume a juvenile can reproduce an adult tutorial's jump, damage or matchup. Observe what your current life stage allows, then make decisions around that condition. A familiar forest edge and a manageable food option are more useful than an adult combat plan you cannot yet execute.
Think separately about drinking. A quiet river surface is not proof that the bank is free of aquatic predators. Compare approaches before thirst becomes urgent, and keep watching the game while drinking. The Gateway water guide offers planning advice, not live danger warnings.
Using TheIsleMinimap for Omniraptor navigation and friends
Map layers help you compare your current position with mapped water, landmarks and animal references. Terrain and resources still need to be checked in the game. Animal markers are not live prey tracking, and a route that looks short from above may include slopes or a difficult crossing.
Update your marker by clicking Asset Location to copy your coordinates, or use the enabled screen reader with your confirmed reading area while Lat and Long are visible. Our coordinates guide explains setup. The marker reflects your latest accepted reading, not uninterrupted tracking while the location panel is hidden.
Private app squads support up to four players, with shared latest positions and a destination pin. Use them to find a separated friend or agree where to regroup. Solo Lifetime includes local navigation; Squad plans include those online squad features. See the current plans rather than relying on a price quoted in an older article.
Omniraptor questions: controls, pouncing and pack play
How do you pounce as Omniraptor in EVRIMA?
RMB is the usual default pounce input. Check your current bindings and practise disengaging before extending an attack. A valid input alone does not guarantee that every target, angle or life stage will produce a latch.
How do you get off another dinosaur?
The official manual-control announcement identifies Spacebar as the dismount action. Confirm it in your current setup and use it while you still have stamina to respond after landing.
What is the difference between damage and bleed pouncing?
The released manual controls distinguish Primary Attack for direct damage and Secondary Attack for bleed while attached. Which choice makes sense depends on the encounter; neither is a guaranteed winning sequence.
What should Omniraptor eat?
Check preferred foods and your nutrient needs in the current Status Report. Use those details to plan a meal instead of treating an old species food list as permanent.
Can I play Omniraptor solo?
You can plan a solo survival routine, but nobody is available to cover every recovery or regrouping decision for you. Choose manageable food and water trips instead of treating a pack-hunting tutorial as a solo combat guarantee.
Does the minimap show other Omniraptor players automatically?
No. Shared player positions belong to members of your private app squad who provide location updates. The app does not reveal nearby players or hidden opponents.