
Playing The Isle EVRIMA alone does not mean spending every session hiding. It means choosing trips you can finish without a friend covering the next problem. A useful solo plan links food, water, observation and recovery, with another option available if a place becomes busy.
Know what you need, where you will try to get it and where you will go if that attempt fails. You do not need a perfect route across Gateway. You need a next decision that fits your dinosaur's condition.
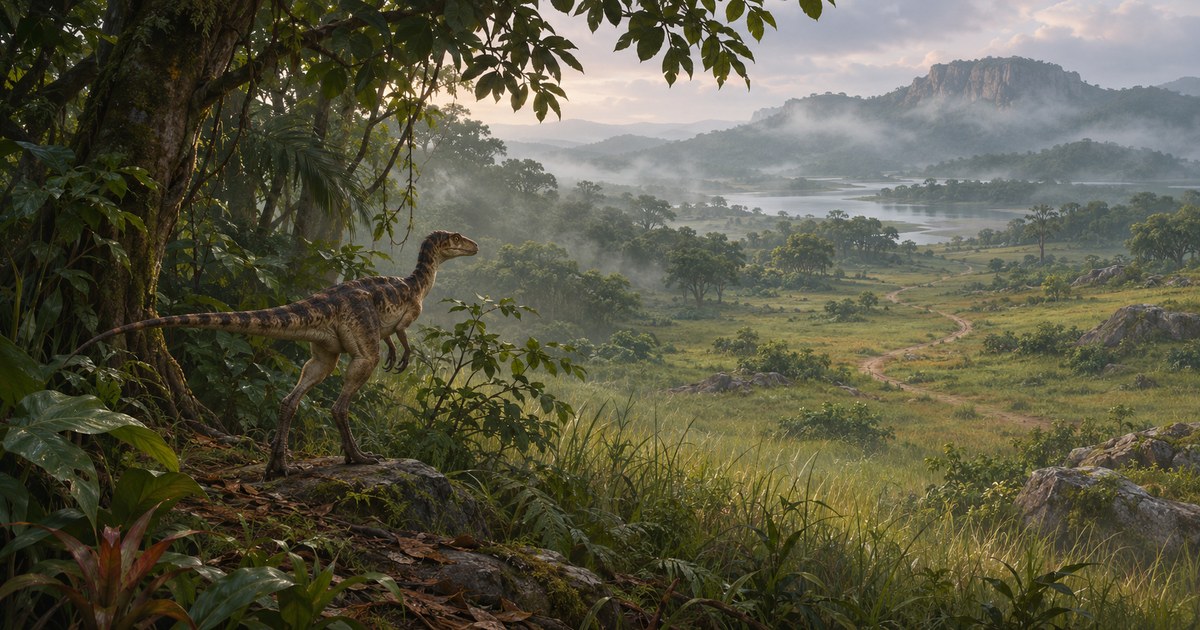
The cover is an AI-generated conceptual illustration. It is not a game screenshot, a mapped Gateway route or a promise of a safe location.
Choose a session you can actually finish
Start with the time you have available. If you can play for a short while, learn one local circuit instead of committing to a long crossing. If you are unfamiliar with a dinosaur, spend the first session learning its movement and needs rather than measuring success by fights won.
Use the current character-selection screen and Status Report, not a remembered stat sheet, to set your expectations. A familiar small dinosaur can teach you more about an area than an unfamiliar large one. Our beginner dinosaur guide can help you choose a learning goal.
These are practical recommendations for ordinary play. Community servers may add rules or different progression settings, so read those before deciding that advice from an official-server video applies to your session.
Build a short loop, not an island-wide route
Choose three useful references: somewhere to investigate food, somewhere to approach water and somewhere to recover and observe. They do not need to form a neat triangle, and they should not depend on finding an exact animal or plant at an exact moment.
Before leaving your current spot, choose an alternative. If the water approach is occupied, will you wait at a distance or try another one? If food is absent, which direction still leaves you a reasonable journey back? A fallback reduces the temptation to stay somewhere simply because you have already travelled there.
Revisit the plan after a meal, a drink or a disturbance. The route that made sense while hungry may no longer be useful once thirst becomes your next concern. Solo planning is a series of short adjustments, not a fixed patrol you must finish.
Separate the need to eat from the chance to fight
For a carnivore, seeing another player does not automatically produce a sensible meal. Consider your condition and the surrounding ground before treating an encounter as a food plan. When you do find food, decide how long you need to stay and where you will leave afterwards.
For a herbivore, avoid assuming that one productive patch solves the rest of the session. Check your current nutrient information and the next water trip. If your build assigns a migration or other objective, read the information shown in-game rather than trying to infer a live assignment from a static map.
At water, observe the approach and your departure route before committing. A place you used without trouble yesterday is not guaranteed to be empty today. Do not let a thirst emergency become your normal way of deciding when to drink. The water guide and food and diet guide explain those tasks separately.
Keep enough stamina for a change of plan
Sprinting can solve a short problem and create a longer one. If you use your whole reserve reaching a destination, you arrive with fewer choices when it is occupied. Match the pace to the trip and stop to assess your condition before the situation becomes urgent.
Read the terrain from the ground as well as from above. A direct line may cross a steep drop, awkward slope or exposed water edge. Walking a longer route can be the better decision when it preserves a useful retreat. See the terrain guide for evaluating those trade-offs.
Choose recovery spots with an exit and a view of the approach. Vegetation can break a sightline, but it does not make you invisible or erase sounds and other clues. After you think an encounter has ended, check the surroundings before settling down.
Decide what contact with another player means
You do not have to answer every call, investigate every sound or challenge every animal on your route. First ask whether the contact changes your immediate need. If you already have enough food and a viable way out, approaching may add a risk without solving a problem.
When you are noticed, focus on the next piece of terrain rather than trying to watch the other animal constantly while moving. Look for a route you can actually use. Do not rely on a dramatic jump, blind drop or unfamiliar river crossing as your only exit.
After escaping, reassess before returning. Hunger, an unfinished objective or a body you left behind can make the same location feel compulsory. It usually deserves a fresh decision. Our combat survival guide covers the broader encounter choices.
Use map references to reduce decisions, not add clutter
If you use TheIsleMinimap with Solo access, your marker color and up to three personal pins can give a local trip clear references. In Settings > Solo Settings, enable personal pins, then right-click the map to place them. For example, use them for a proposed water approach, a familiar landmark and a fallback direction.
A pin is your reminder, not proof of food, shelter or safety. Move it when your plan changes. The personal pins guide covers the controls, while the coordinates guide explains position updates.
Update your position by copying Asset Location or using your configured screen reader while the coordinates are visible. When that panel is closed, the marker stays at its last accepted position. Animal map references are not live nearby players or prey, and personal pins are not shared with other people.
End the session before you are forced to rush
Leave time to find a suitable place and use the game's proper logout process. Reaching the end of your available time beside a contested resource creates an avoidable last-minute decision. Consult the safe logout guide for the process rather than assuming closing the game immediately is equivalent.
After a death or a difficult escape, identify one useful lesson: you approached water too late, travelled without a fallback, lost track of a slope or stayed after obtaining what you needed. Change that one habit next session. Trying to correct everything at once makes progress difficult to notice.
Solo survival questions
Is there a completely safe area on Gateway?
This guide does not promise one. Other players and your needs change. Learn alternatives instead of treating a location name as a safety guarantee.
Do I need a Squad plan to use the minimap alone?
No. Solo Lifetime provides personal map tools. Squad plans add the online sharing features; the current comparison explains what each plan includes.
Should I restart somewhere else after every death?
Only if there is a reason. Returning to a familiar area can help you test a better decision instead of learning unfamiliar terrain and unfamiliar controls at the same time.