
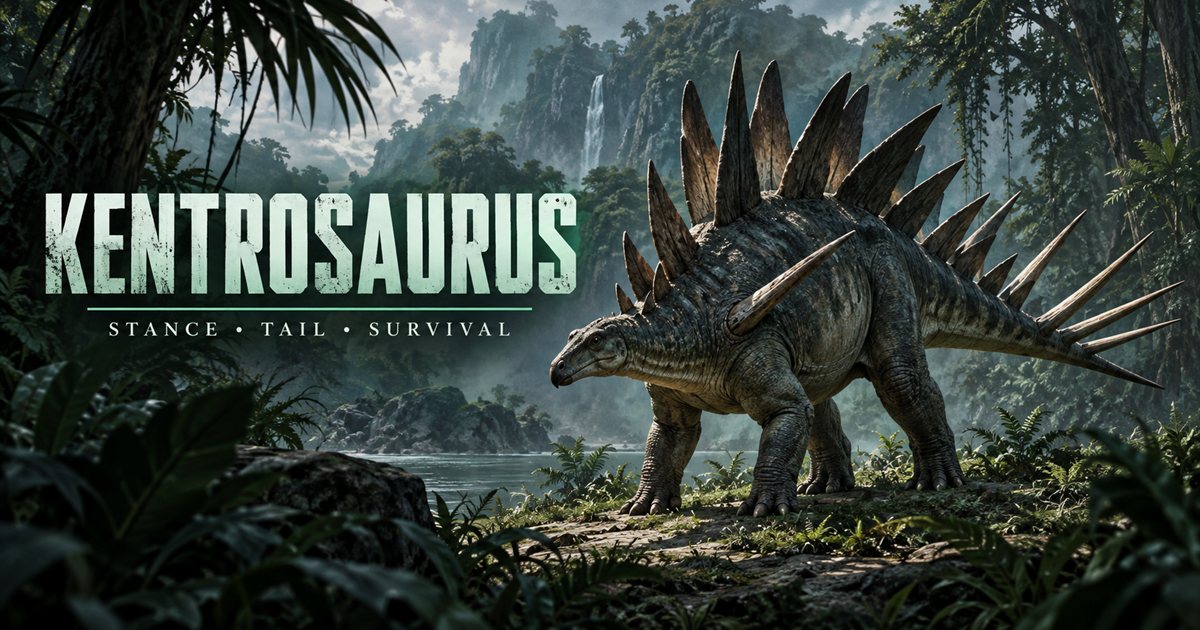
Kentrosaurus rewards learning where its defensive tools work and where you still need space. Begin with the stance toggle, practise the charged tail input and inspect your next turn. Spikes can make careless contact costly, but they do not replace food planning, awareness or a way to leave a deteriorating encounter.
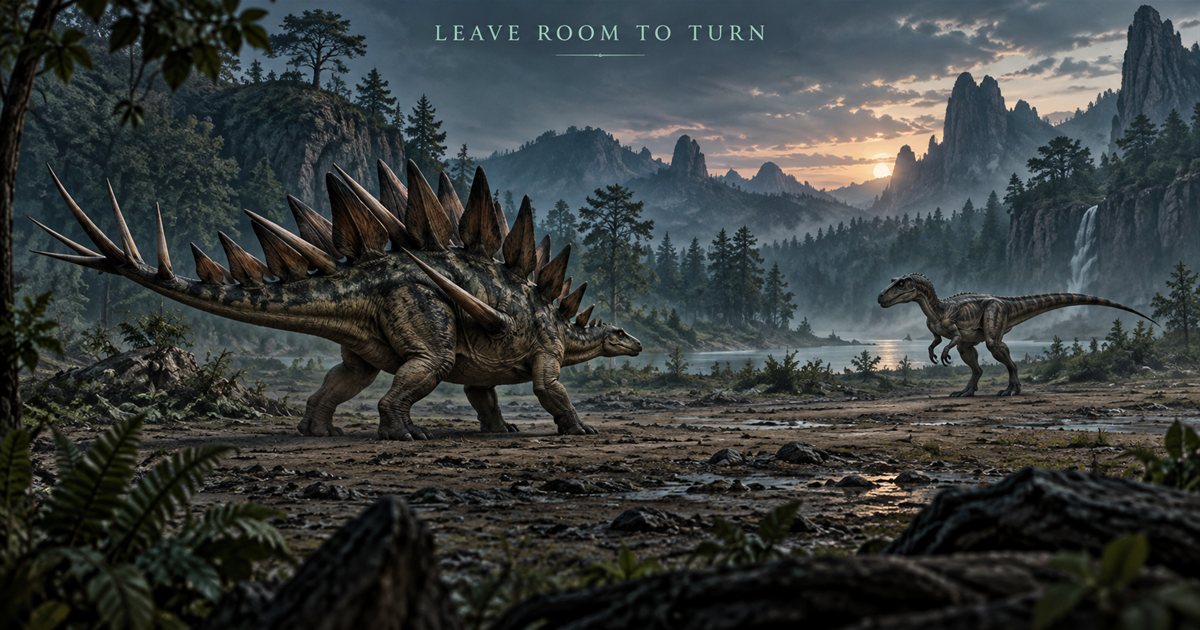
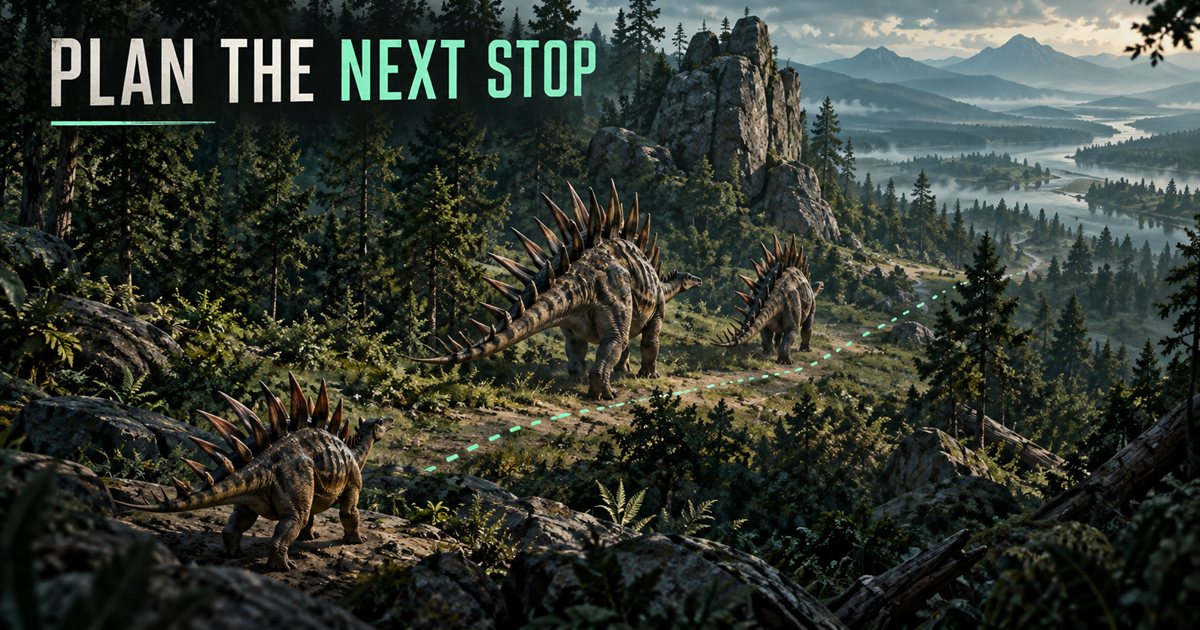
This guide covers Kentro reference controls, positioning and Gateway herd travel. Its three AI-generated illustrations are conceptual artwork, not game screenshots, exact attack animations or safe routes. Check the current Controls menu and Status Report before using an older demonstration as your reference.
Kentrosaurus controls from the public release notes
The official Patch 0.21.720 announcement added Kentrosaurus to the EVRIMA Public Branch. Its highlights provide the following reference inputs. Confirm your current bindings, particularly if you have customised the mouse or keyboard controls.
| Reference input | Released action | What to practise |
|---|---|---|
| Hold RMB | Charge power swing | Recognise the charging state before combining inputs. |
| Hold RMB + LMB | Perform power swing | Observe the direction, completion and recovery. |
| Ctrl | Toggle defensive stance | Check which stance you have entered. |
| LMB in defensive stance | Defensive tail attack | Distinguish this action from the charged swing. |
Learn the toggle on clear ground before practising attacks. Enter a stance, observe it, leave it and repeat. Then test one attack at a time. Starting beside an obstacle makes it harder to separate an input misunderstanding from a positioning problem.
Defensive stance: understand the conditions of spike defence
The release notes describe reflection damage when attackers contact the tail or shoulder spikes. They also describe defensive stance as improving reflection damage and stability, and blocking certain abilities when they connect with spikes. These are conditional interactions, not a statement that every incoming attack is stopped.
Look at the opponent's actual approach and your own available ground. If you are pressed against a bank or dense vegetation, the stance does not create room for your next movement. Reposition while you still have a manageable option rather than waiting until an obstacle dictates the whole encounter.
Practise observing your animal's state without relying on a remembered silhouette from a video. If a toggle behaves differently in your current build, check the binding and finish the current action before trying again. Repeated presses can make it difficult to know which stance you intended to retain.
Power swing practice: watch the action through to recovery
Separate charging from releasing the attack. In a quiet practice area, learn what happens after holding RMB and what changes when LMB is added. Watch the whole movement until control is comfortable again. The useful lesson is the complete sequence, not only the instant the tail moves.
Next, compare that sequence with the LMB attack in defensive stance. Check the stance first, perform the input and observe the result. Do not add a target, a turn and an unfamiliar obstacle to the exercise until you can tell the two actions apart.
If practising with a companion, agree on the exercise and the server's rules. Begin with observation and spacing rather than damage testing. Stop when either player needs resources or the surroundings change. A successful practice session does not prove the same sequence will work against every animal or growth stage.
Kentro positioning: keep the next movement available
Inspect the ground behind and beside you before committing to a prolonged defence. Consider whether you can turn, move to another piece of ground or reach a companion without squeezing through an obstacle. A position can look spacious on the map while offering awkward movement at animal height.
Do not chase an opponent simply because it moved away after your attack. First check what changed: your stamina, the nearby activity and the terrain ahead. If the original goal was reaching food or leaving the area, continue that plan instead of turning a short encounter into an extended pursuit.
Water edges and narrow routes deserve a fresh assessment. The presence of defensive tools does not make the approach to drinking safe. Read our water guide for choosing an approach and departure, and the injury guide for checking condition after a fight.
Diet and travel: choose the resource you need now
Read your current food panel before following a plant reference. Work out whether hunger, a missing nutrient or water is the immediate need. After feeding, check the result and change the objective accordingly. A full stomach and a complete diet are not automatically the same thing.
Build a first loop around a recognisable stopping point and a nearby resource area you can inspect. Keep the return understandable. If the resource is absent or other animals make the approach unattractive, choose another option instead of defending the location merely because it was the first one marked.
Use our food and diet guide and zone guide to compare resource references with your live needs. Neither a plant marker nor a zone outline confirms that suitable food is present at that instant.
Herd travel: make the next stop reachable for everyone
Before departing, identify the member who needs food, water or rest most urgently. A plan that fits the adult at the front may be a poor choice for a smaller animal following behind. Agree on one next stop and communicate if someone has to pause.
Keep clear space between companions during movement and ability practice. Explain which side of a landmark you are approaching rather than assuming everyone interprets a shared marker the same way. If the herd becomes separated, use a recognisable rendezvous and stop changing the destination repeatedly.
Check the game's grouping restrictions and community-server rules before planning the herd. A private app squad is a navigation group, not permission to form any species combination in the game. For progression, see our growth guide.
Using TheIsleMinimap with Kentrosaurus
Enable relevant map layers to compare locations, plants and water references with the next objective. Copy Asset Location or use approved local coordinate reading while Lat and Long are visible. The marker represents the latest accepted coordinate update; it does not keep tracking movement while the coordinate panel is hidden.
Solo Lifetime provides local navigation. Squad plans add a private app group for up to four players. The app does not read stance, reflection damage, attack state, food or stamina, and it does not reveal hidden opponents or perform tail attacks.
Compare the Stegosaurus guide for another tail-focused herbivore, and the Maiasaura guide for a different stance-based playstyle. Learn each species' actual controls rather than carrying one animal's practice straight into another.
Kentrosaurus questions
Does defensive stance stop every attack?
No. The release description refers to certain abilities connecting with spikes. Keep assessing the opponent, terrain and your condition.
Are the power swing and defensive tail attack the same input?
The release notes list different inputs. Practise the charged sequence separately from LMB in defensive stance.
Can the minimap tell me when to change stance?
No. Map references help orientation; your stance and encounter decisions remain in the game.