
Want to survive as Pachycephalosaurus in The Isle EVRIMA? Learn your headbutt inputs, but give equal attention to where you will go afterwards. A useful defensive hit creates an opportunity. Staying beside a dangerous opponent to celebrate it can waste that opportunity immediately.
This Pachy guide covers controls, fractures, diet, growth and practical travel on Gateway. Default inputs are identified from published references; your current game bindings and food panel take priority. The four AI-generated illustrations are conceptual teaching scenes, not official screenshots, exact attack animations or a measured Gateway map.
Pachycephalosaurus controls: bite, headbutt and side strike
The community Pachy reference lists these default attack inputs. Its site warns that some information is being updated, so check the Controls menu and practise the actions in your current build before relying on them in a fight.
| Input | Reference action | What to practise |
|---|---|---|
| LMB | Bite | Recognise the normal attack separately from the ram. |
| Tap RMB | Headbutt / ram | Learn the immediate input and where the action leaves you. |
| Hold and release RMB | Held headbutt / ram | Distinguish a held input from a tap. |
| Alt + LMB | Side strike | Learn the alternate head-swing action without treating it as the same attack as the forward ram. |
Choose empty ground for practice. Try one input at a time, observe the animation and movement, then return to a comfortable starting position. Practising beside a cliff or crowded water approach makes a simple input mistake much more costly.
Separate learning the button from judging the result. A strike connecting does not establish that every target will be knocked down or fractured. Relative size, condition and the current balance matter. Avoid building a plan around a fixed damage value or weight threshold copied from an older guide.
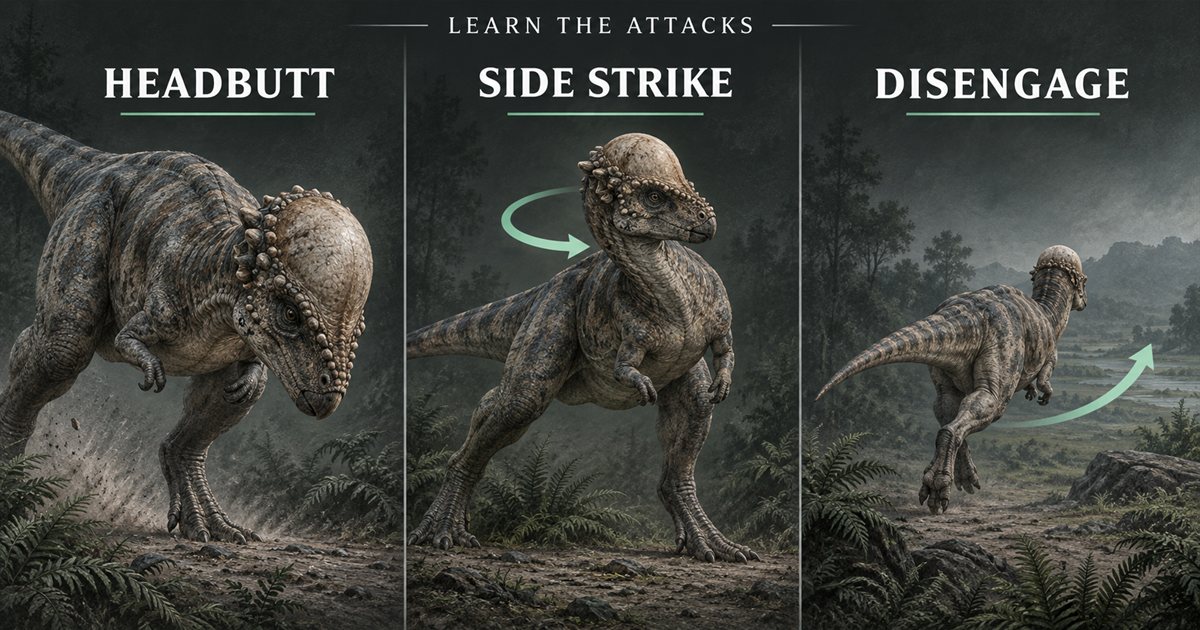
Pachy headbutts and fractures: use the opening
Pachy and the locational fracture system arrived together in the official Update 4 release notes. Those historical notes explain injuries affecting different body regions. They establish the mechanic's background, not today's damage values or healing timers.
For a defensive encounter, decide what you want a successful response to achieve: more distance, a clearer escape or time to reach companions. If that opening appears, use it. Repeatedly returning to attack can expose you to another opponent and turn a manageable retreat into a prolonged fight.
An injured attacker can remain dangerous. Watch what the animal actually does instead of assuming that a fracture means it cannot move or defend itself. If you are the injured player, reassess your own movement and recovery needs before committing to a long journey.
The June 2025 development blog acknowledged headbutt behaviour needing further work. Development plans are not confirmation of a released parry system. For recovery advice, see our bleeding, healing and fracture guide.
Defensive positioning: keep turning room and an exit
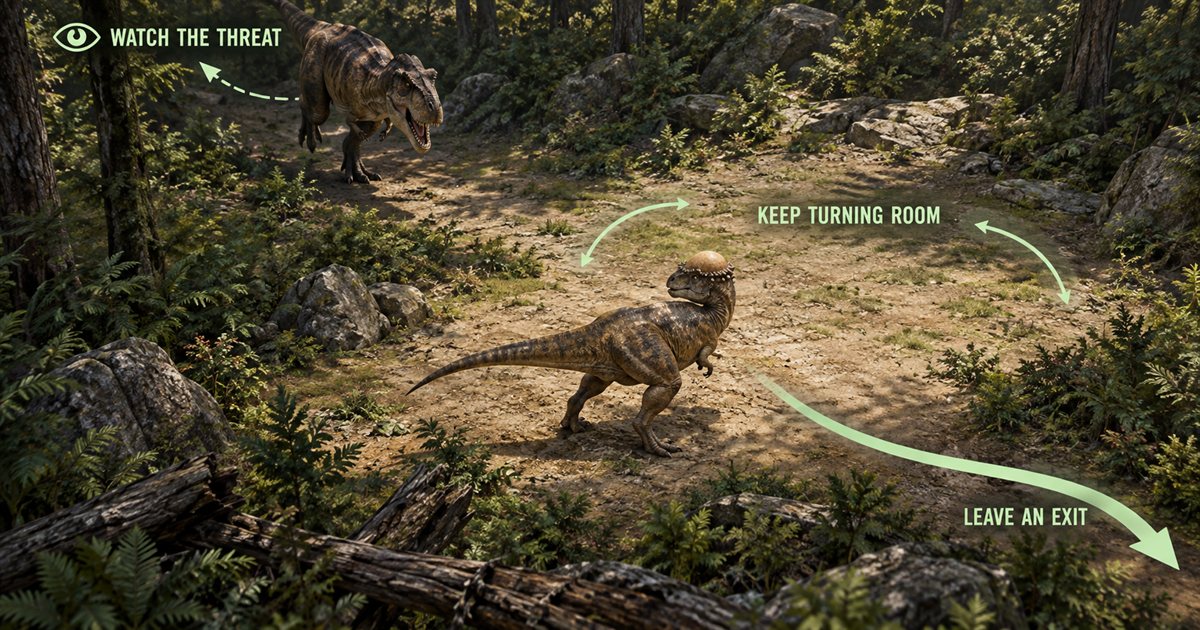
Before stopping to feed, look at the nearby terrain. Can you turn without getting caught between rocks? Is there a departure direction that does not immediately lead toward deep water or a steep drop? These questions are easier to answer before another player closes the distance.
Keep the visible threat in view while checking for a second approach. Fixating on one opponent can hide the more important problem: another animal arriving from the side. Move early when the position is becoming crowded rather than waiting until every available route feels uncomfortable.
Suppose you meet a predator beside a rocky food patch. Chasing it around the same rock may put the obstacle between you and your intended exit. A more useful decision may be to move toward ground where you can see the approach and change direction. This is positioning advice, not a protected arc or a guaranteed counter to a particular species.
Spend stamina with the next decision in mind. Sprinting without knowing your destination can leave fewer options when you arrive. Our stamina guide explains how to think about travel, resting and preserving a useful reserve.
Pachy diet: choose the next resource from your live panel
Open the current Status Report and read the preferred foods and nutrient bars before choosing where to travel. Work out what you need next instead of eating whatever is closest and assuming that hunger and diet balance mean the same thing.
Use a short decision sequence: check the missing nutrient, identify a plausible food direction, compare it with thirst and stamina, then decide whether the trip is sensible. After eating, look at the result. If the intended nutrient remains low, change the plan from the bars you actually see.
A plant location reference is a starting point for exploration. It does not tell you that the resource is currently available, that no one else is feeding there or that the approach is safe. Observe the surroundings before settling into a feeding routine.
For the broader system, read our food and diet guide. The migration, patrol and sanctuary guide explains the different zone references. Use the current food panel rather than treating an old preferred-food list as a permanent rule.
Growing a juvenile Pachy: learn a manageable loop
Start by learning one food trip, one water approach and a landmark you can recognise on the return. A route you understand is easier to adjust when danger appears than a long journey copied from someone else's adult run.
Do not use adult combat footage as a juvenile survival plan. Your current animal may have different movement, condition and practical options. If an encounter feels uncertain, avoiding it can protect the progress you have already made.
When joining friends, agree on a stopping point before travelling. Ask whether the smallest or least prepared player can comfortably reach it. Continually sprinting after companions who are already far ahead can turn the meeting itself into the risky part of the session.
Keep checking your resources between stages of the journey. For progression advice, use the growth guide and prime, elder and entombing guide. A fixed growth timer is less useful than understanding what your current animal needs.
Travelling on Gateway and meeting other Pachys
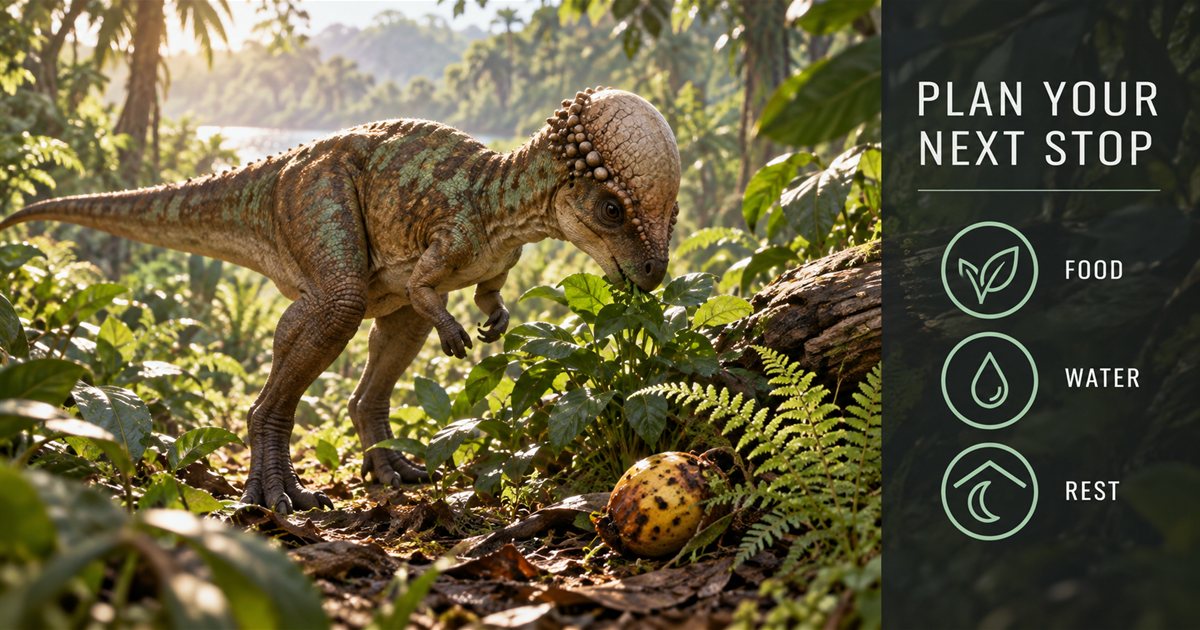
Pick a specific next stop instead of following a moving target indefinitely. Explain whether the priority is water, food or recovery. If someone becomes separated, refresh both locations before deciding who should move.
Approach water deliberately. A quiet surface does not prove that it is empty, and a shared marker cannot reveal a hidden Deinosuchus. Keep a departure direction available and compare the approach with our Gateway water guide.
Leave space around companions while learning attacks. A crowded practice area makes it harder to see which action was performed and where each player can move next. Follow the current server's grouping and behaviour rules when meeting other players.
Common Pachy mistakes to avoid
- Chasing after a useful defensive hit: first decide whether the opening is better spent escaping.
- Confusing tap and held inputs: practise the difference before relying on it under pressure.
- Fighting with terrain behind you: check turning room and the next departure direction.
- Using old statistics as guarantees: assess the current build and the actual opponent.
- Taking long trips without rechecking resources: update the food, water and recovery plan between stops.
Using TheIsleMinimap while playing Pachy
Enable location names and relevant resource references in map layers. Compare your marker with the destination, then assess the actual ground ahead. The app does not calculate a safe route through predators, cliffs or deep water.
Copy Asset Location in-game, or use the enabled screen reader with an approved reading area while Lat and Long are visible. Your marker shows the latest accepted coordinate reading, not continuous movement when the coordinates are hidden. See the coordinate guide for keeping it current.
Squad plans include private app squads for up to four players. Solo Lifetime provides the solo option. App squads are separate from The Isle's in-game group limits and server rules; shared accepted positions help with rendezvous decisions.
Pachycephalosaurus questions
How do you headbutt as Pachy in EVRIMA?
The community reference lists RMB, with tap and hold-and-release inputs. Check your current bindings and practise the difference away from hazards.
Is Alt + LMB the same as the forward ram?
The reference lists it as a separate side-strike action. Learn its movement and effect in your current build rather than assuming every attack has the same result.
Does every Pachy headbutt cause a fracture?
Do not assume that. Target, condition, contact and balance changes make a guaranteed outcome an unreliable basis for survival decisions.
What should Pachy eat?
Use the preferred foods and nutrient bars in your current Status Report, then plan from the nutrient you need and the resource clues available nearby.
Can the minimap show where predators are hiding?
No. It displays map references, your latest accepted position and supported private squad positions. It does not detect hidden players or promise a safe destination.